This is part three in the series about writing good VQGAN+CLIP (VQC) prompts. In the first I talked about style and media modifiers, in the second I covered artist and genre modifiers, and in this one I’m going to talk about environment modifiers – materials, colour and lighting – and how they effect the outcome.
As always, the techniques here are ones I’ve found that work for me. Other artists will do things differently and as you develop your own style you’ll no doubt do things differently too.
Prompts and modifiers
A surprising ability of VQC and other text-to-image AI models is that it’s only possible to specify what to generate but also how the image should look. This includes the media used, e.g. watercolour paints or Unreal Engine, the artistic style, such as Cubism or Jackson Pollock, and also the materials, colour palette and lighting. These last three I call environment modifiers, for want of a better word.
Environment modifiers are useful as they give much more fine-grained control over the content of your image, for example by changing the materials or lighting. It’s yet another tool for gaining creative control over the generation process and steering it in the direction you want.
Examples of environmental modifiers
This is by no means a definitive list and I'm sure you'll be able to think of more, but these are ones I find helpful and use regularly.
Materials
This is what the elements in your image are made of. Examples could be glass, plastic, concrete, wool etc. You can also use adjectives to describe the materials, such as polished wood, glowing glass, or textured stone.
When selecting materials, think about the effect you’re looking to achieve and choose combinations that might look interesting. It’s fun to specify contradictory materials and textures to see what happens, such as brutalist skyscrapers made of jelly, or leaves made of felt.
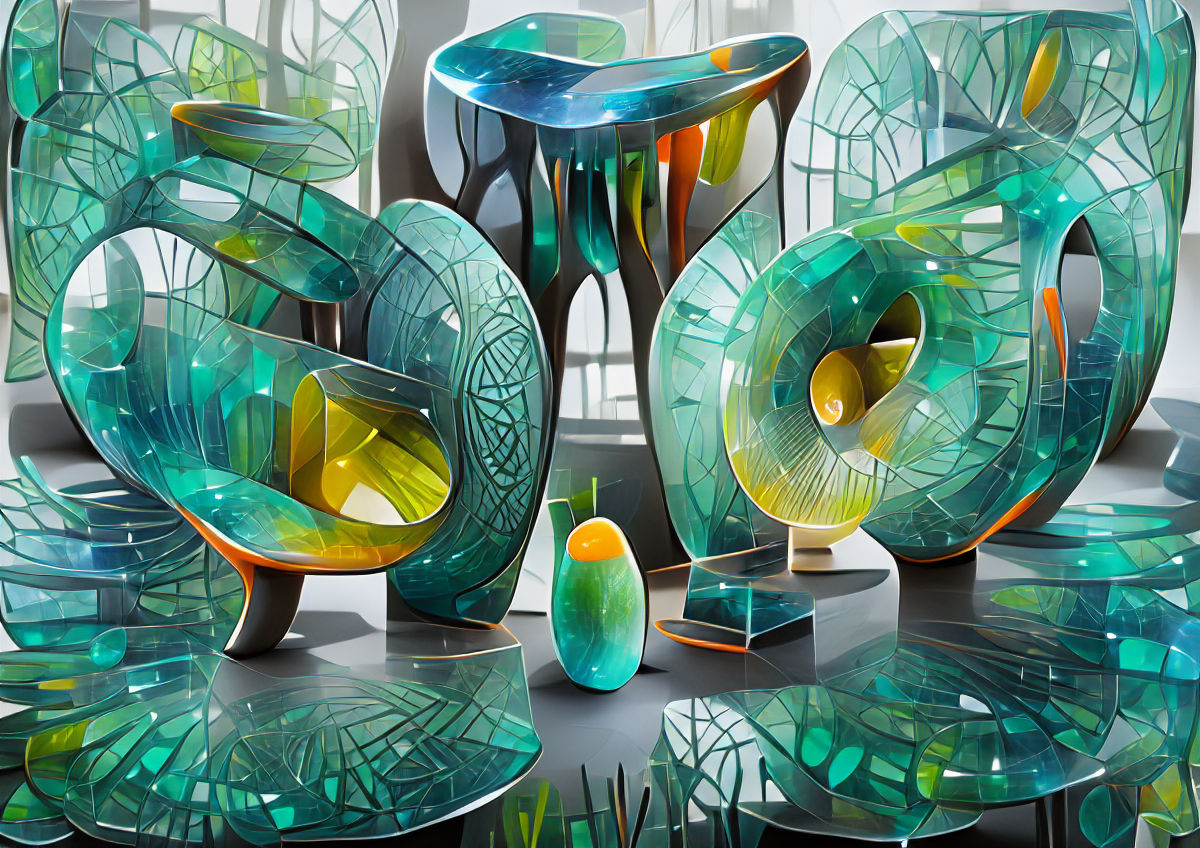
↑ ‘Abstract sculptures made of vividly colourful glass | by Barbara Hepworth | Artstation’, 500 iterations.
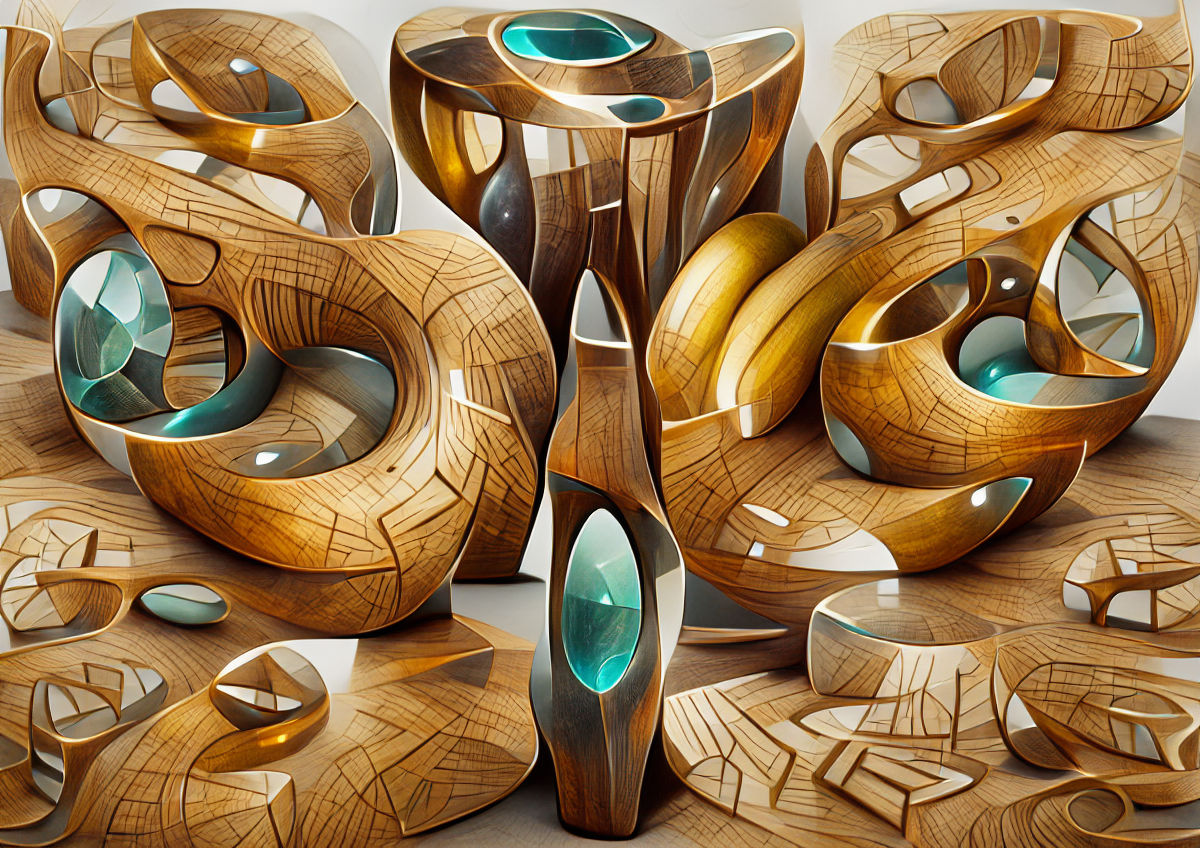
↑ ‘Abstract sculptures made of polished wood | by Barbara Hepworth | Artstation’, 500 iterations, same seed as above.
It’s also possible to specify a few different materials in one prompt. It’ll be fairly random as to what ends up going where, but you can control it to a certain extent through the wording of your prompt and the initial image you use.
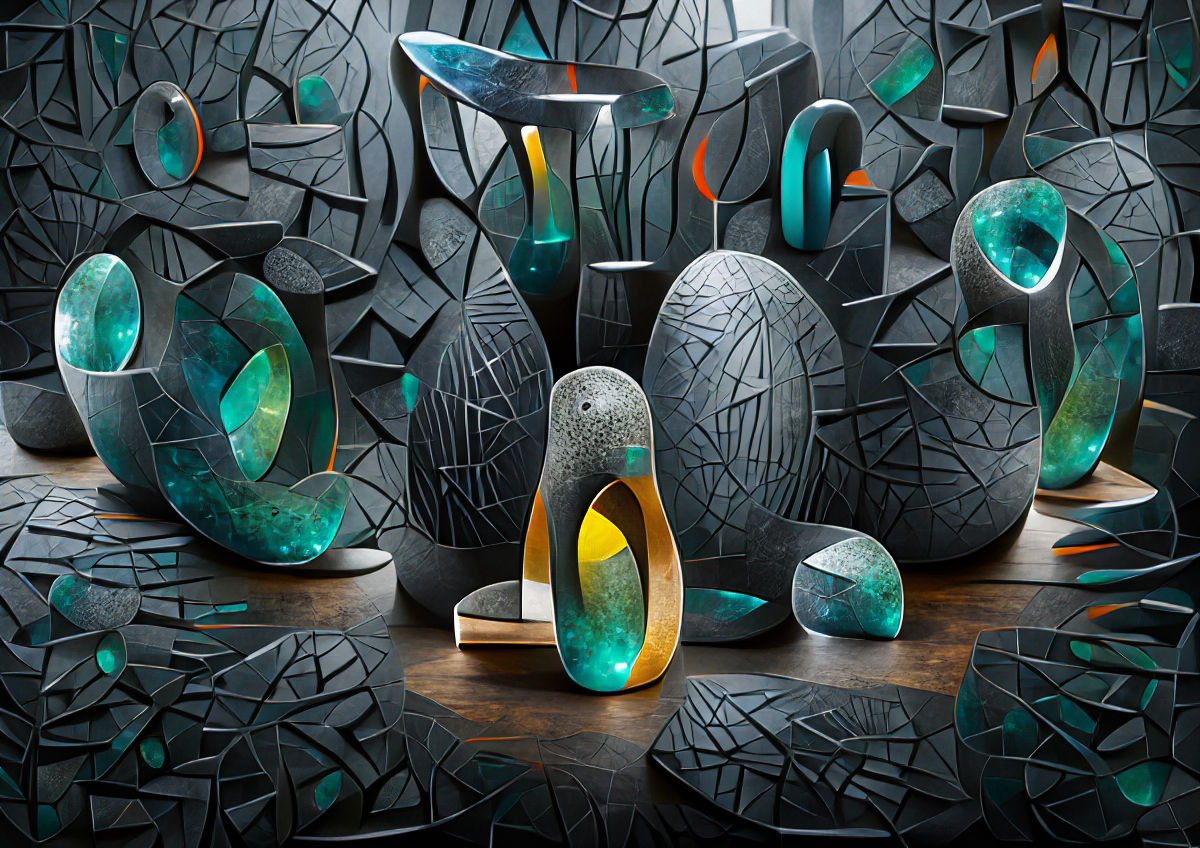
↑ ‘Abstract sculptures made of dark concrete and colourful glowing glass | by Barbara Hepworth | Artstation’, 500 iterations, same seed as above.
In this example the combination of two contrasting materials has resulted in a much better image, even though nothing else has been changed.
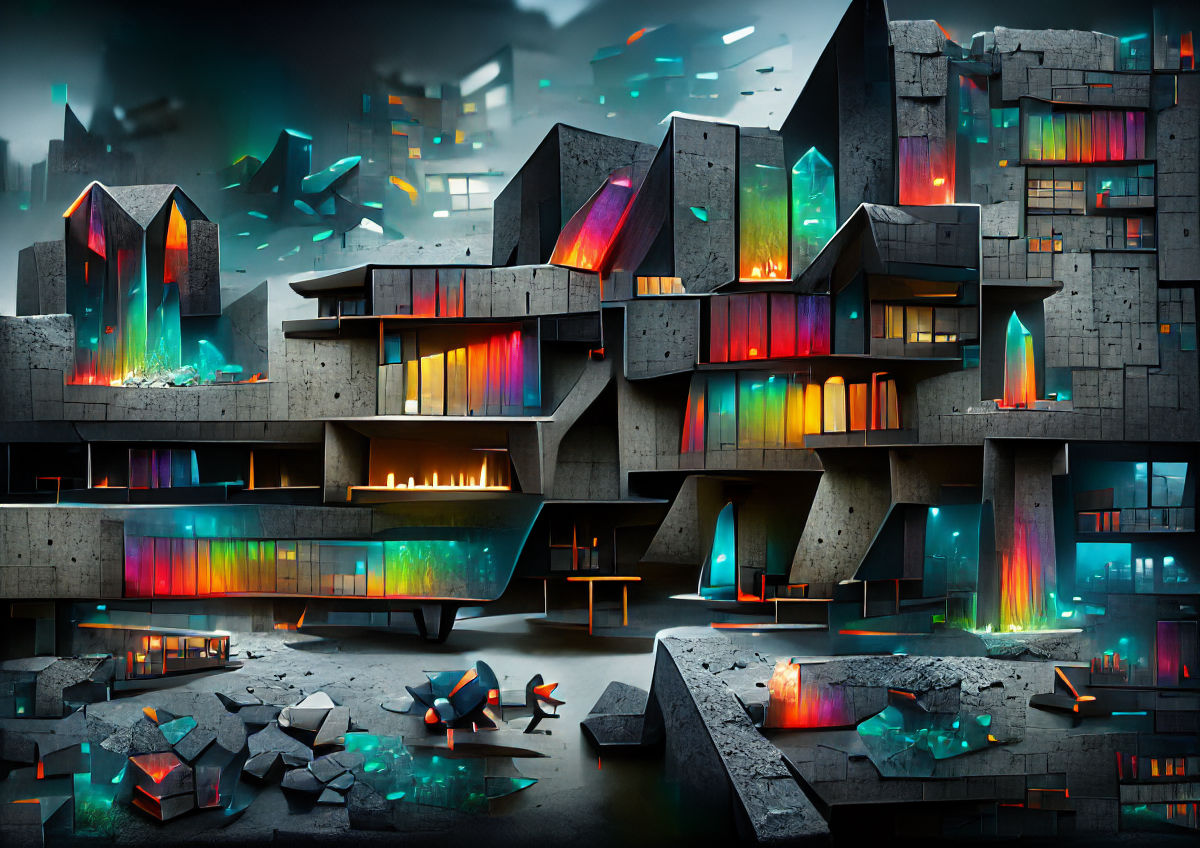
↑ ‘Brutalist architecture made of dark textured concrete and colourful glowing glass | Artstation’, 500 iterations.
In this example I’ve used a black and white picture of the Southbank Centre as the init image. I didn’t specify where to use the two materials, but it’s automatically made the windows out of glass and the walls concrete as Clip knows that’s how buildings are made.
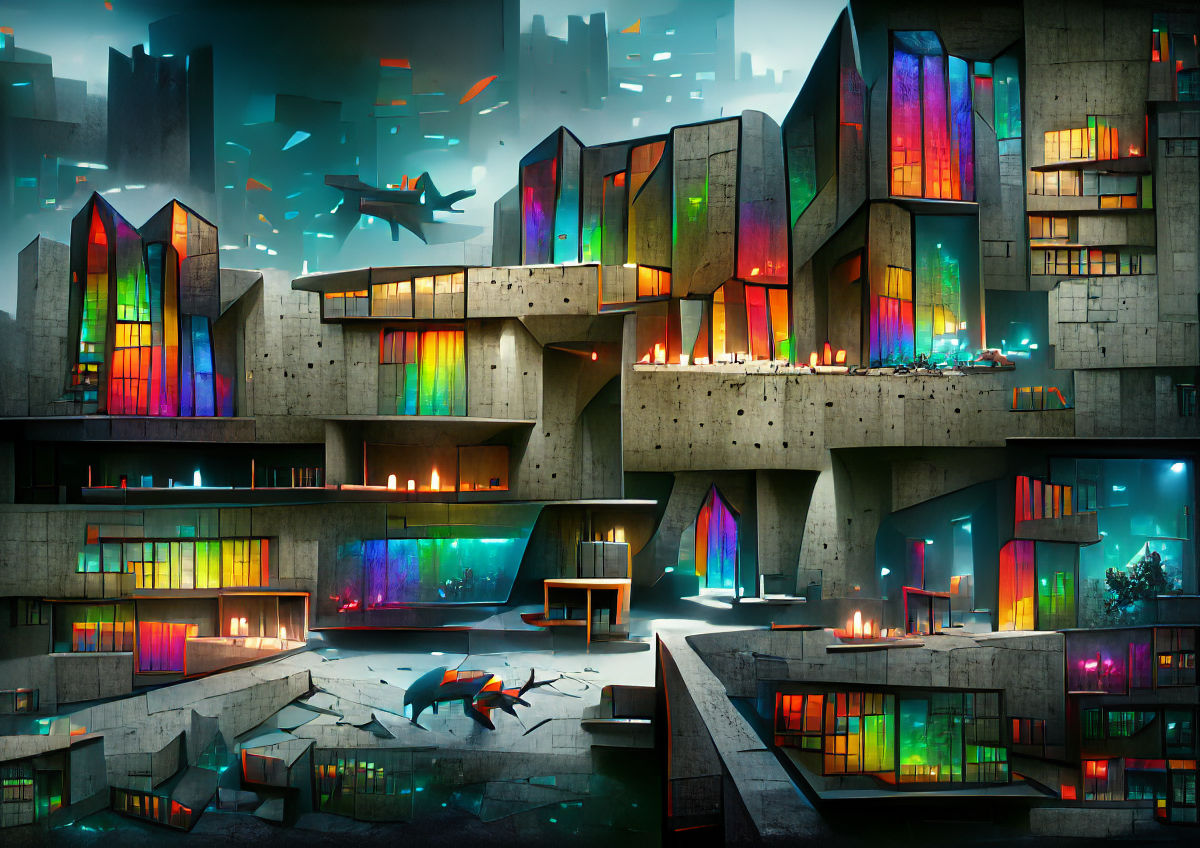
↑ ‘Brutalist architecture with walls made of vividly colourful glowing glass and dark concrete windows | Artstation’, 500 iterations, same seed as above.
By switching round the materials you can see that areas which used to be concrete are now glass and vice versa, although the effect is not always consistent.
Colours
It came as a surprise to me that it was possible to control the colour palette quite so granularly, but it works, and can make a big difference to your image. All you need to do is specify the colour of something and it’ll do its best to accommodate
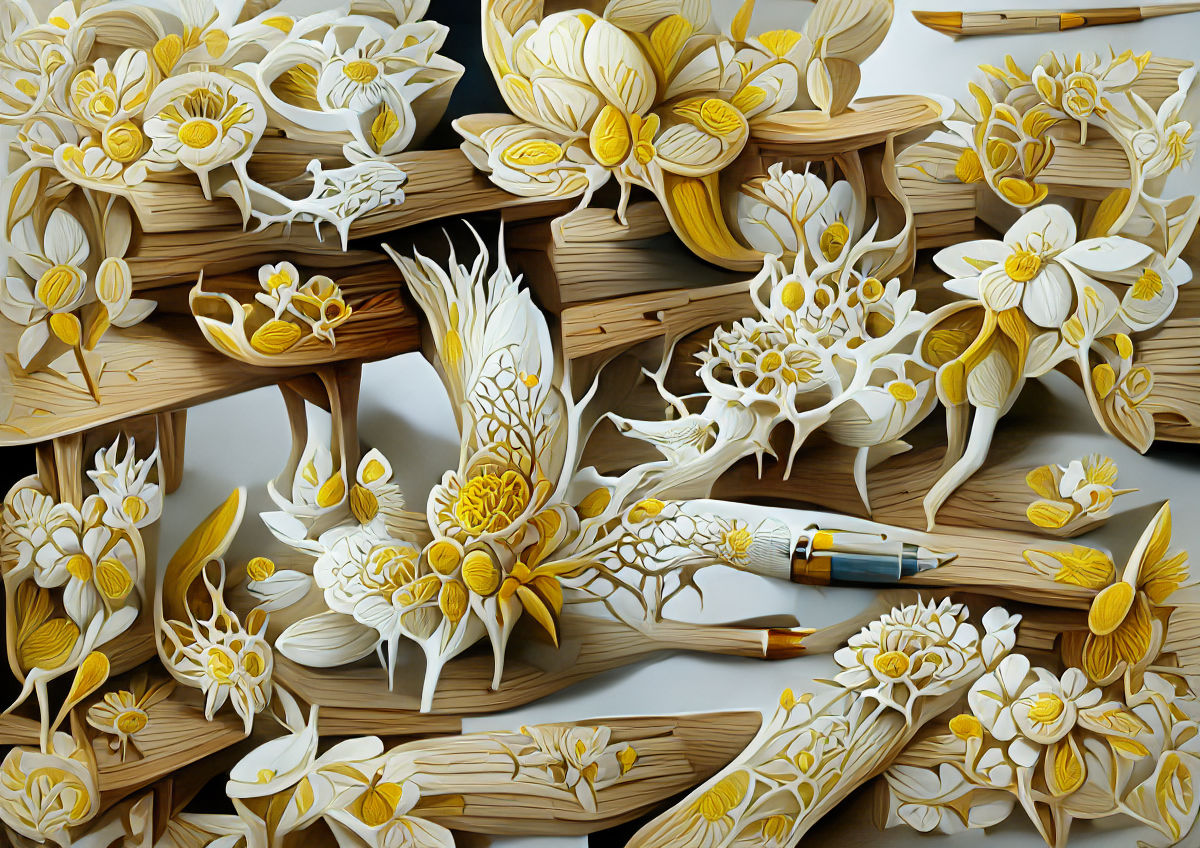
↑ ‘Intricately detailed flowers made of yellow and white painted wood | by Mary Vaux Walcott | Artstation’, 500 iterations.
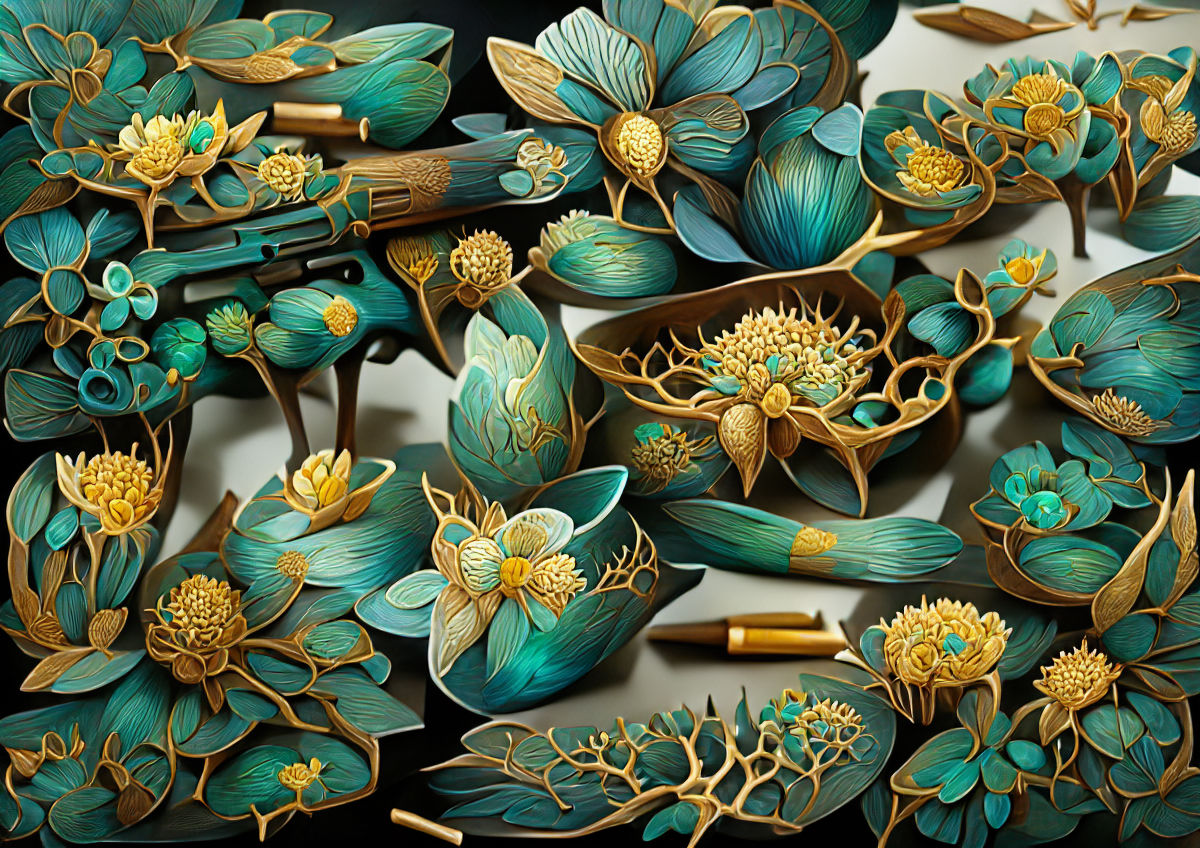
↑ ‘Intricately detailed flowers made of teal and gold painted wood | by Mary Vaux Walcott | Artstation’, 500 iterations, same seed as before.
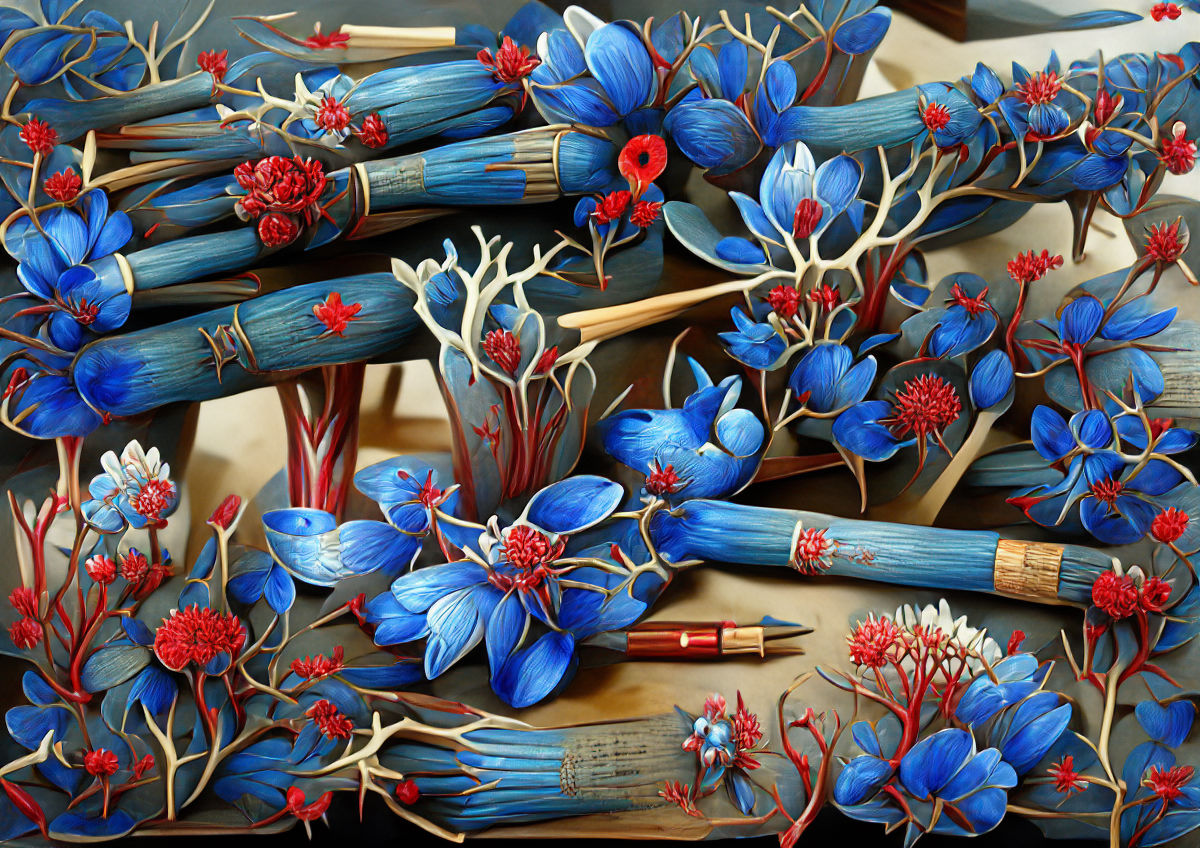
↑ ‘Intricately detailed blue flowers with red stems made of painted wood | by Mary Vaux Walcott | Artstation’, 500 iterations, same seed as before.
It’s harder to make a completely monochrome image as the system really wants to add colour, but there are ways. The simplest is to add ‘black and white’ or ‘noir’, but other ways might be to add a black and white film such as ‘Ilford HP-5’ or use a negative weight, such as ‘colour: -1’ to suppress it.
Lighting
It’s possible to control the light sources in your image by describing what you want to see in the prompt. This works both for the global environmental lighting and individual sources of light, for example by lighting something individually or making an element glow.
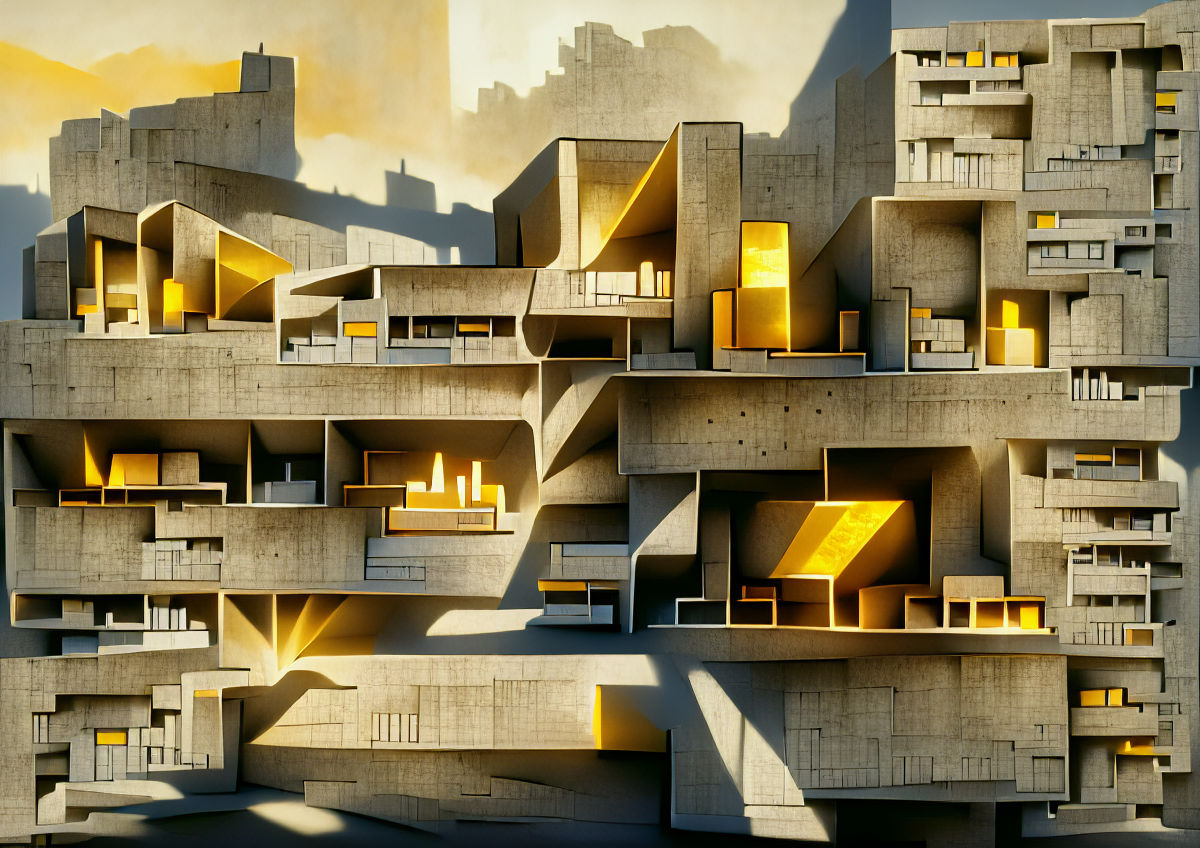
↑ ‘Detailed brutalist building made of concrete lit with warm golden sunlight | by Denys Lasdun | Artstation’, 500 iterations, same seed as before.
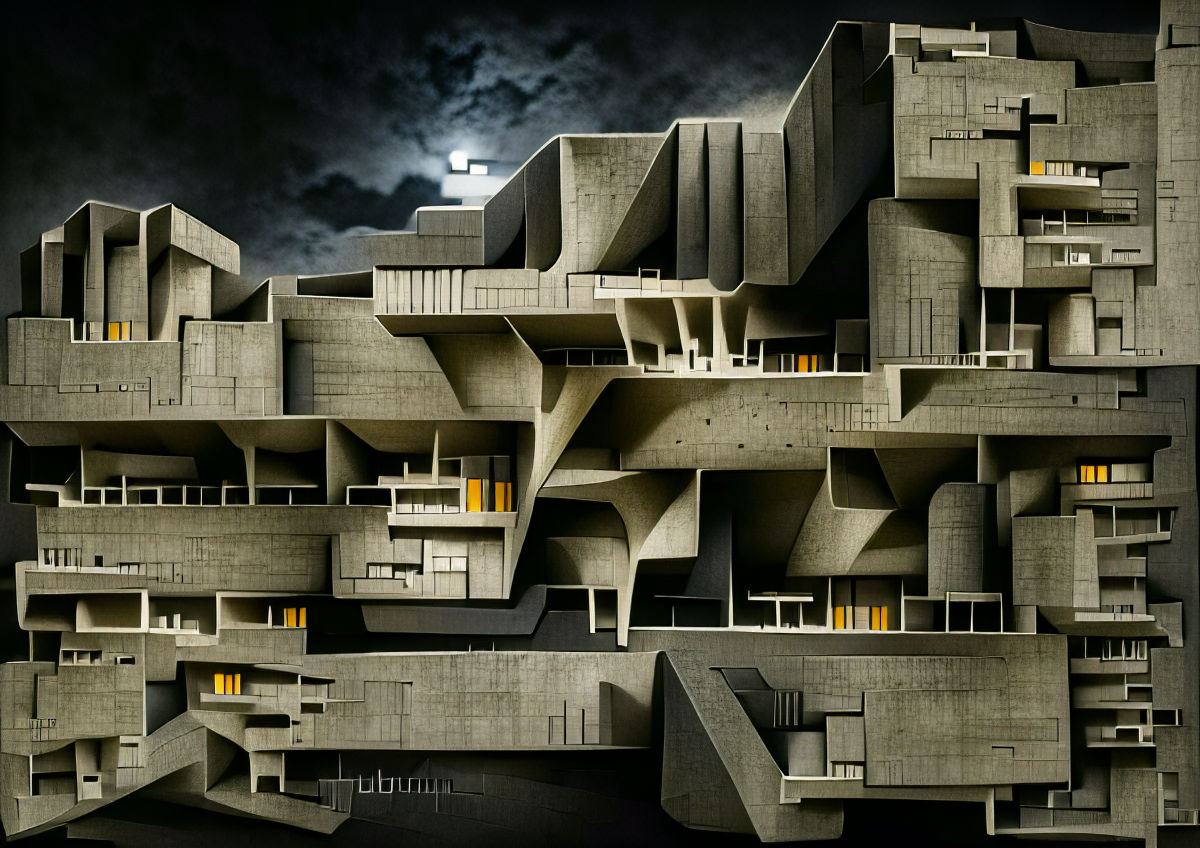
↑ ‘Detailed brutalist building made of concrete on a dark night | by Denys Lasdun | Artstation’, 500 iterations, same seed as before.
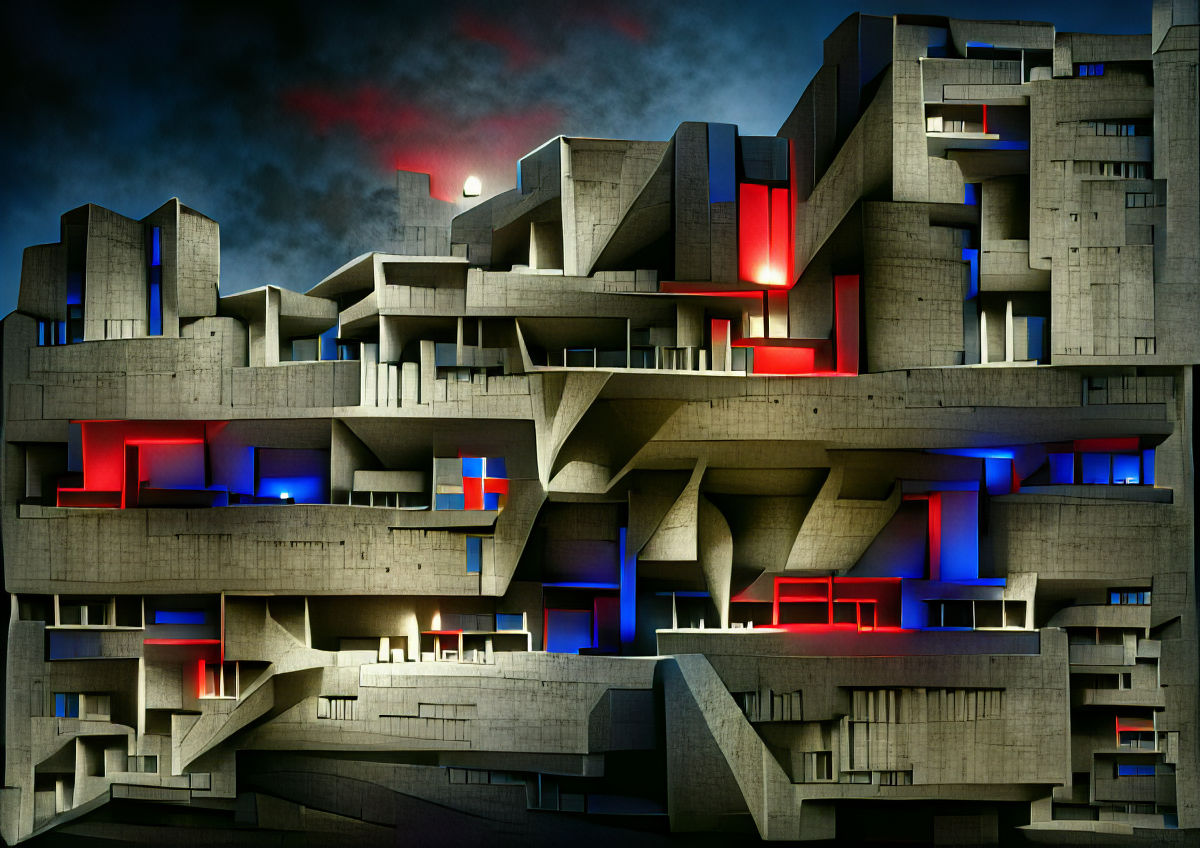
↑ ‘Detailed brutalist building made of concrete on a dark night lit by blue and red spotlights | by Denys Lasdun | Artstation’, 500 iterations, same seed as before.
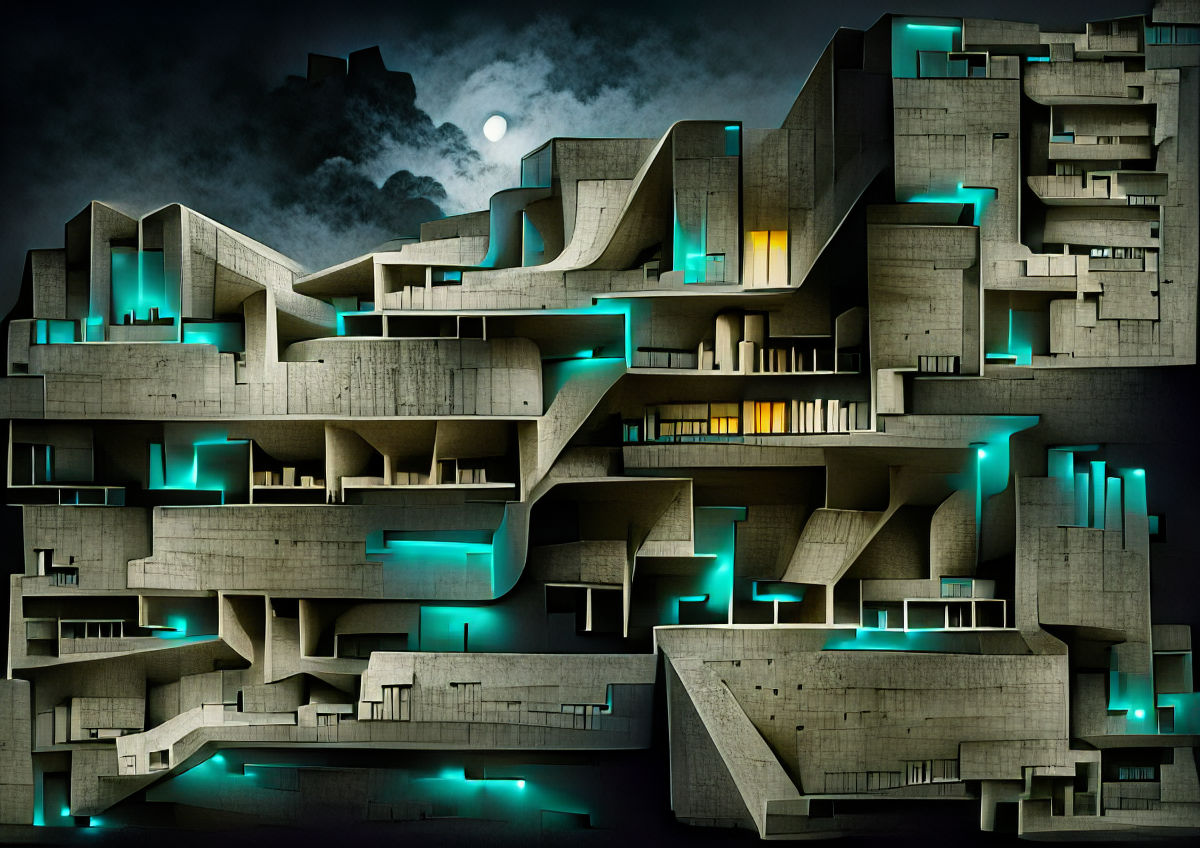
↑ ‘Detailed brutalist building made of glowing bioluminescent concrete on a dark night | by Denys Lasdun | Artstation’, 500 iterations, same seed as before.
Surroundings
Clip understands instructions such as ‘surrounded by’, ‘in’, so you can use them and other similar ones to alter the background and theme of your image without affecting the main elements in your scene too much.
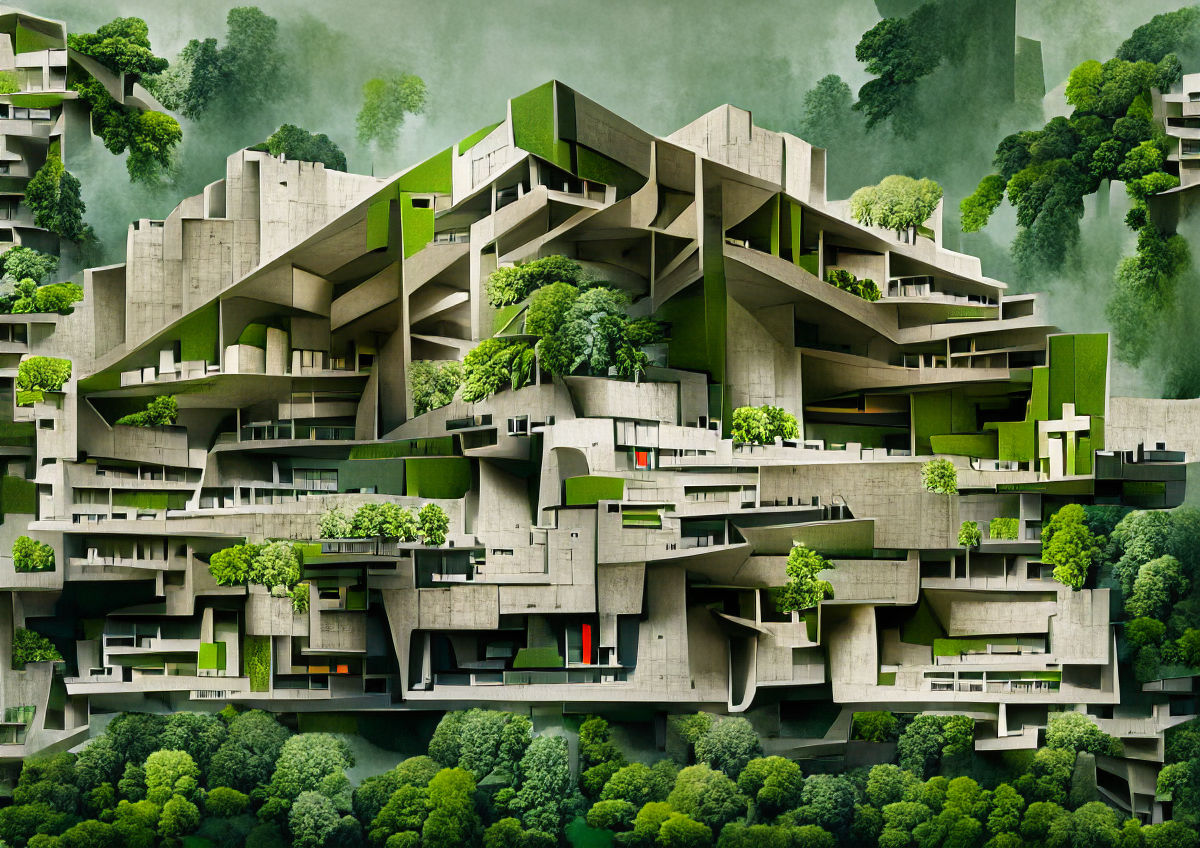
↑ ‘Detailed brutalist architecture surrounded by a verdant green forest | by Denys Lasdun | Artstation’, 500 iterations.
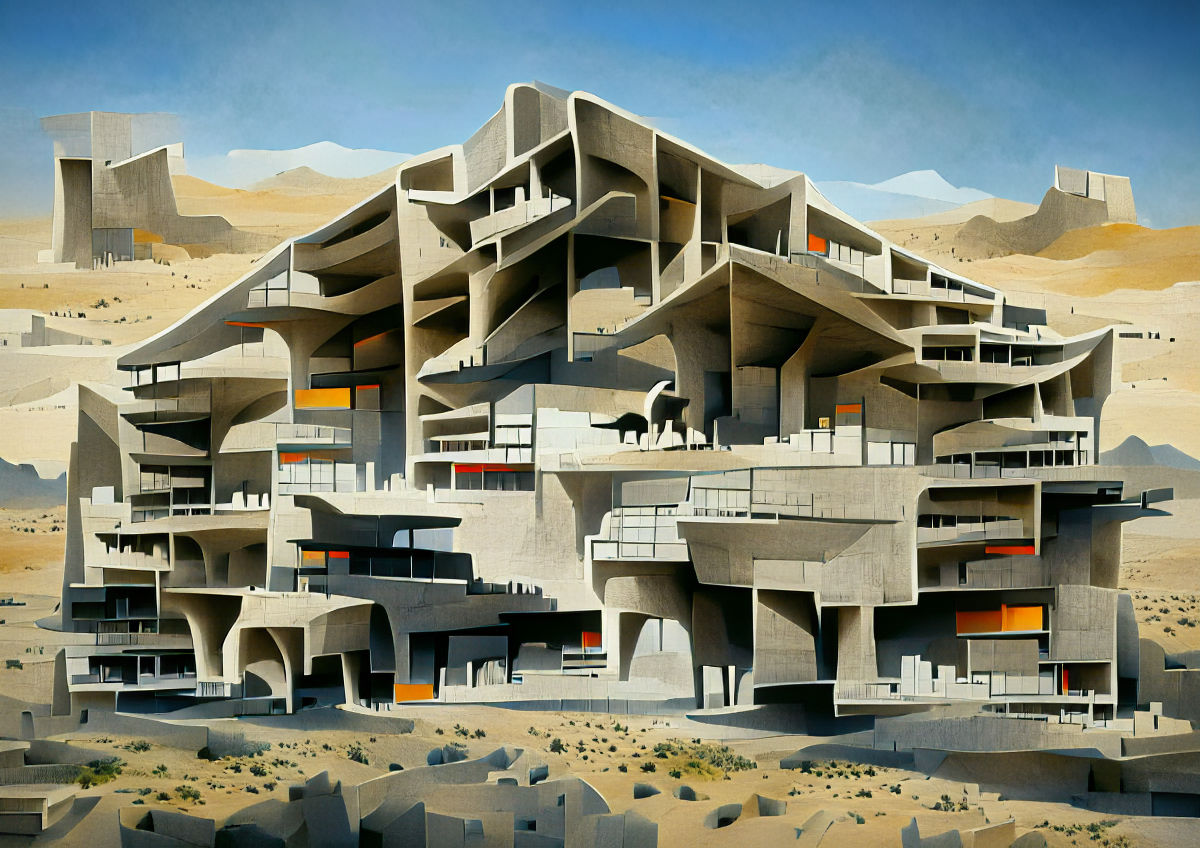
↑ ‘Detailed brutalist architecture in an arid hot barren desert | by Denys Lasdun | Artstation’, 500 iterations, same seed as before.
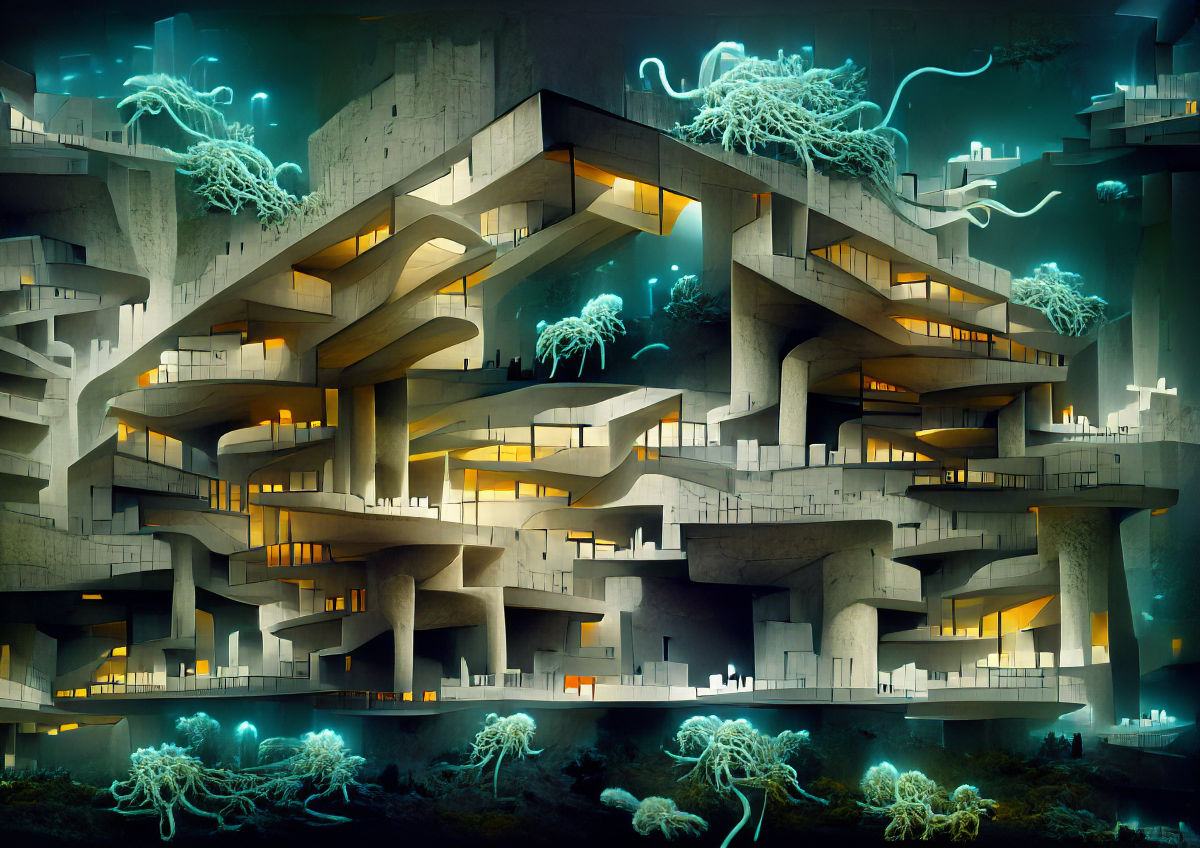
↑ 'Detailed brutalist architecture in an underwater trench surrounded by long tangled glowing jellyfish tentacles | by Denys Lasdun | Artstation’, 500 iterations, same seed as before.
I hope you find the techniques I’ve pulled together over these articles useful and that they might be a good starting point for your own creations. I’m barely scratching the surface of what’s possible here – there’s so much more to discover.
Thanks for reading! If you have any questions, comments or suggestions, I’d love to hear from you. Give me a shout on Twitter, or send an email.
 Unlimited Dream Co.