 Unlimited Dream Co.
Since the full release of Stable Diffusion in late August there’s been an explosion of Stable Diffusion implementations, from Dream Studio, the official web app, to countless Colab notebooks each with unique features. It's even possible to install and run it locally with the right hardware.
Google Colab is probably the easiest way to run SD yourself, as it’s a sort of Docs for code and runs on Google’s servers. It’s possible to use Colab for free, but I’d recommend upgrading to Pro or Pro+ if you’re going to use SD frequenly as you get more powerful GPUs and longer session times.
In this guide I’m going to walk through using two Colab notebooks:
- The official SD notebook from Stability.ai – this is probably the best way to get going and test it quickly, but I wouldn’t recommend it for daily use as it doesn’t have the features other notebooks have.
- Stable Diffusion Web UI by @altryne – This has a nice web interface which makes working with SD much easier, plus some additional features such as image-to-image, upscaling, face correction and masking.
Why Stable Diffusion
Stable Diffusion (SD), from a startup called Stability AI, is a state-of-the-art text-to-image AI model which can quickly create surprisingly good images from a simple prompt. It’s probably on a level with AI models like Dall-E and Midjourney, but unlike them it doesn’t need powerful hardware – even a MacBook Air can run it, albeit slowly – and it’s open source.
Stability.ai notebook
This is probably the best notebook to use if you’re just wanting to try SD out or if you have a free Colab account, I wouldn’t recommend it for heavy use.
Firstly, open the notebook and click the ‘Copy to Drive’ button to save your own copy. Next, run each code cell one-by-one by clicking the play buttons, working down the page. This will set up the SD runtime and install the software packages. You’ll see a green tick next to the button when the cell has finished running.
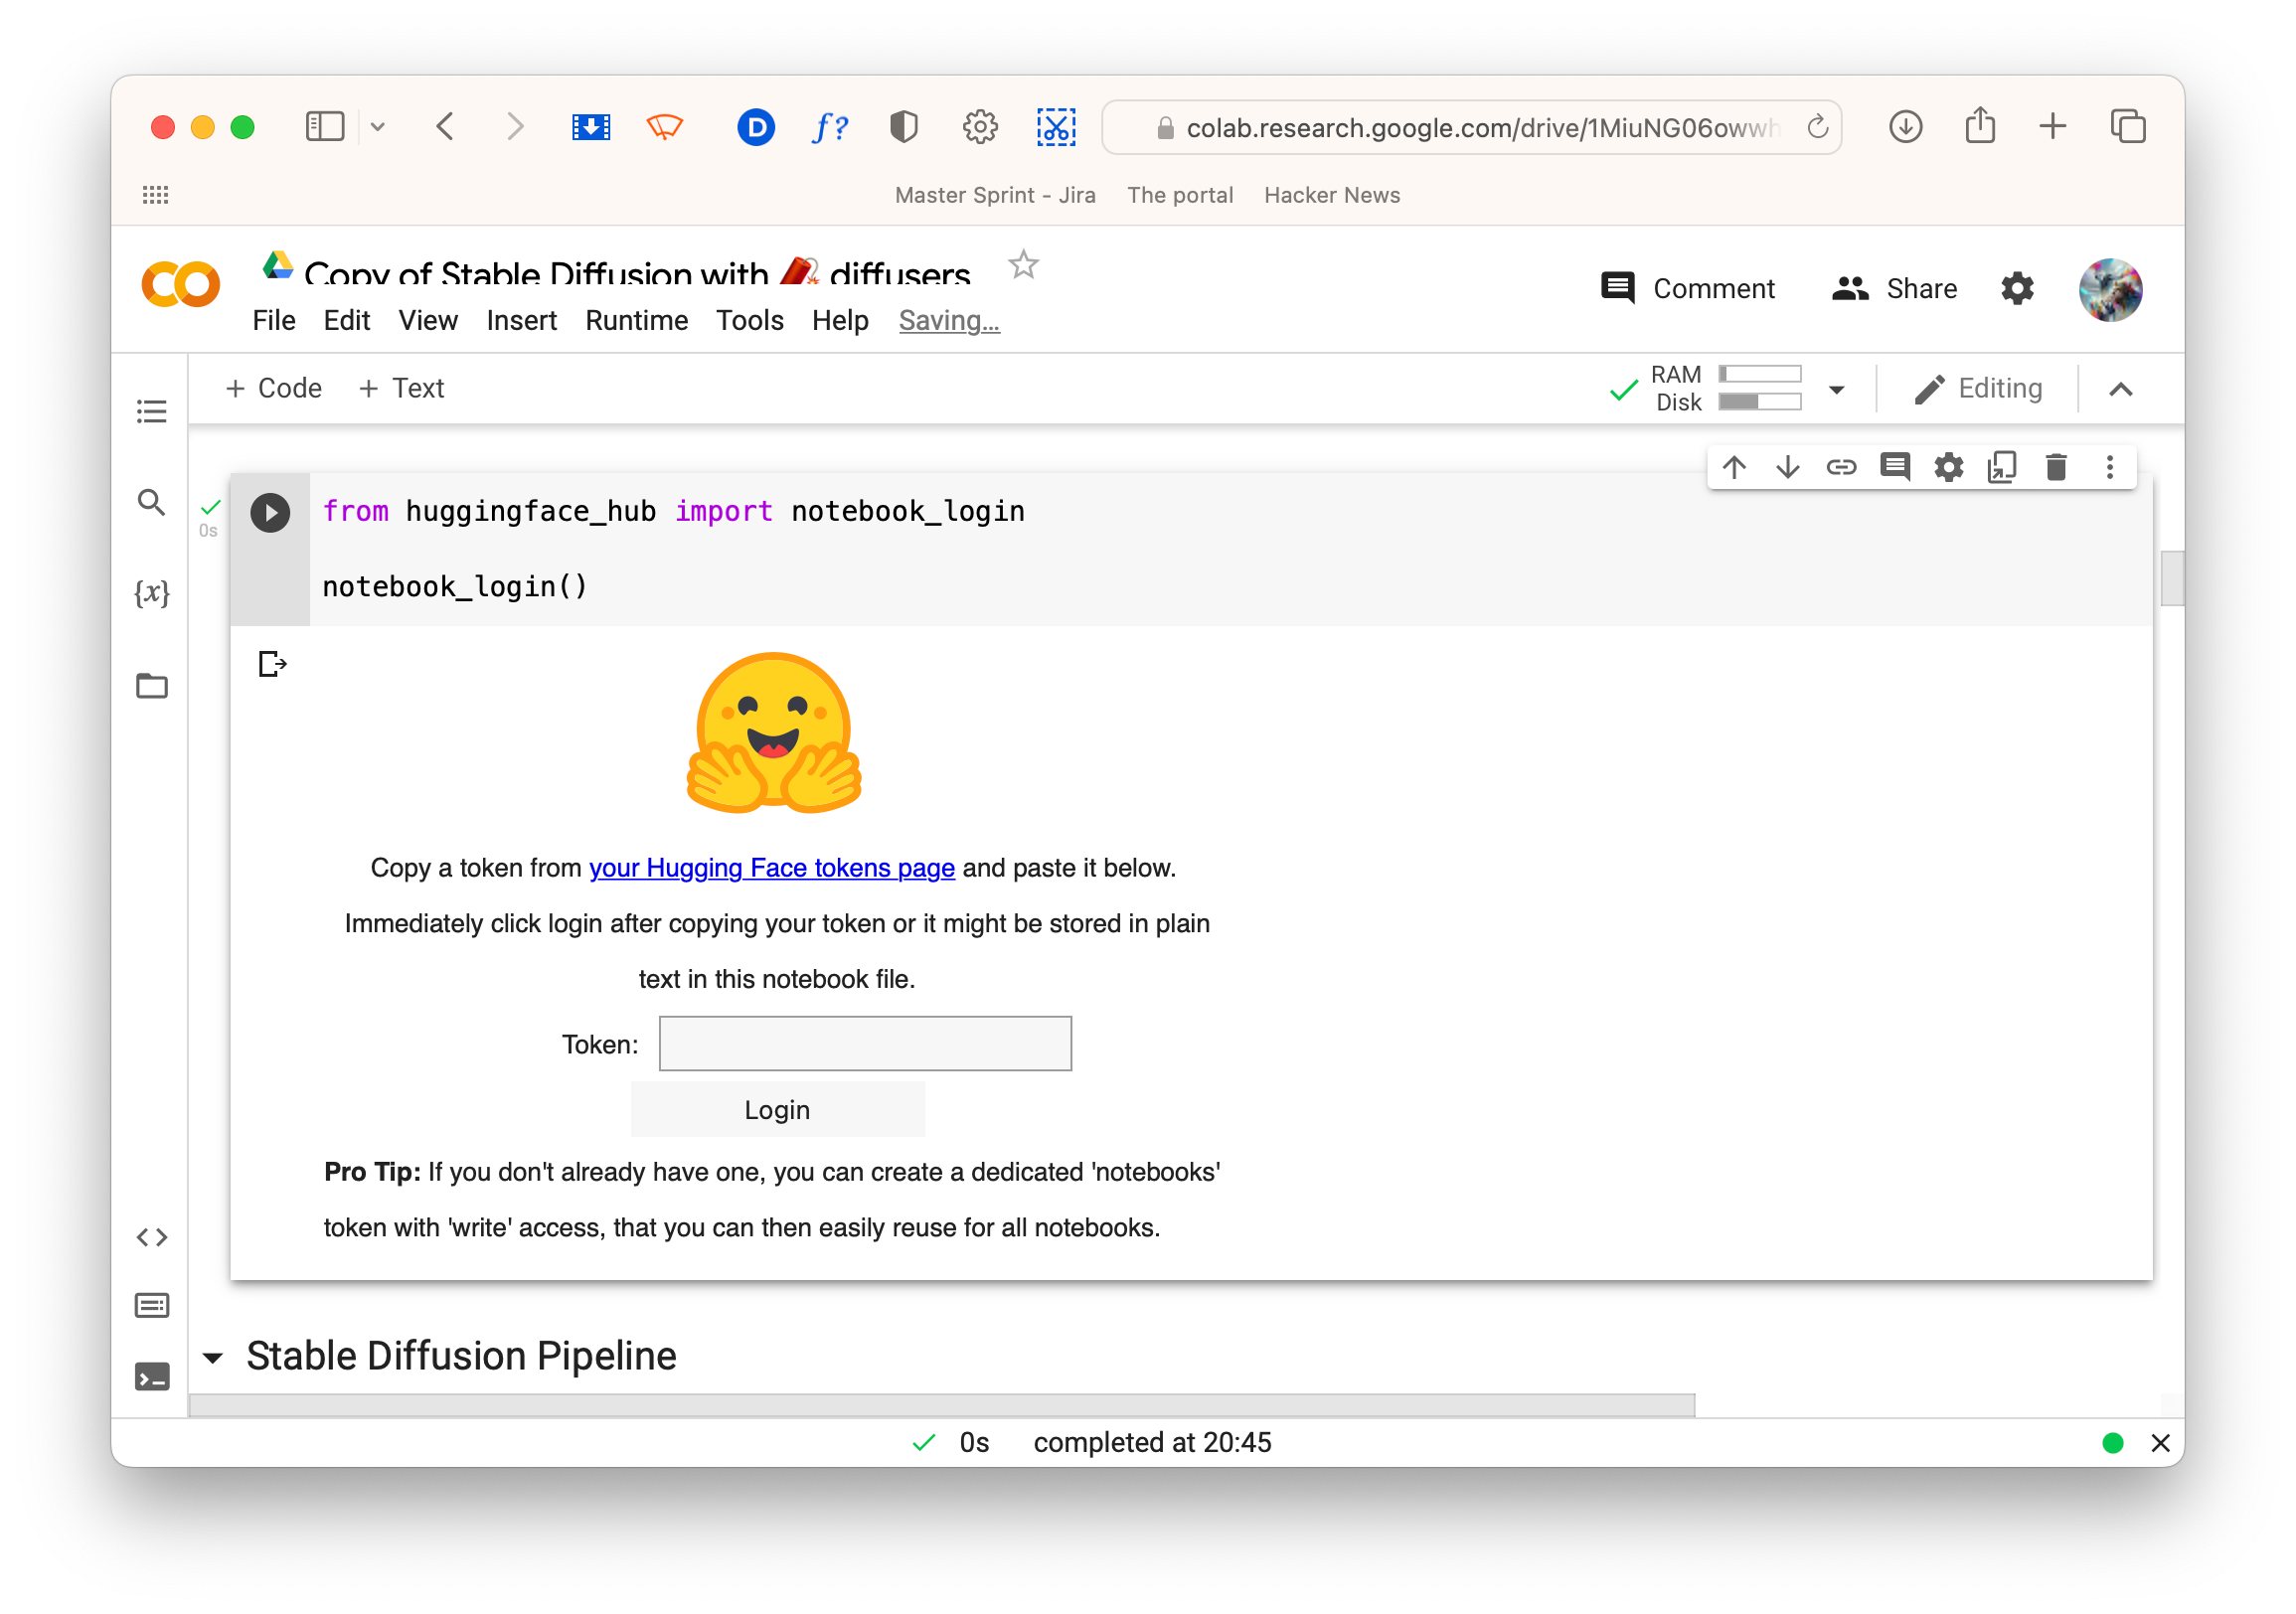
When you run the cell that begins from huggingface_hub import notebook_login, you’ll need an account with a website called Hugging Face to continue. Although the SD model has been open sourced, you still need to accept the licence to download and use it.
↑ The access token field.
Login or create a Hugging Face account, go to your account settings and click ‘Access tokens’ in the sidebar. Create a new read token, giving it a relevant name, copy and paste it in the notebook’s token field and click the login button.
Keep working your way down the cells until you reach one that contains:
from torch import autocast
prompt = “a photograph of an astronaut riding a horse”
This is where you enter your prompt. Change the text between the speech marks on the second line to whatever you want, for example 'A cat eating a sandwich', and click the run button. After a few seconds, congratulations! You've made an image.
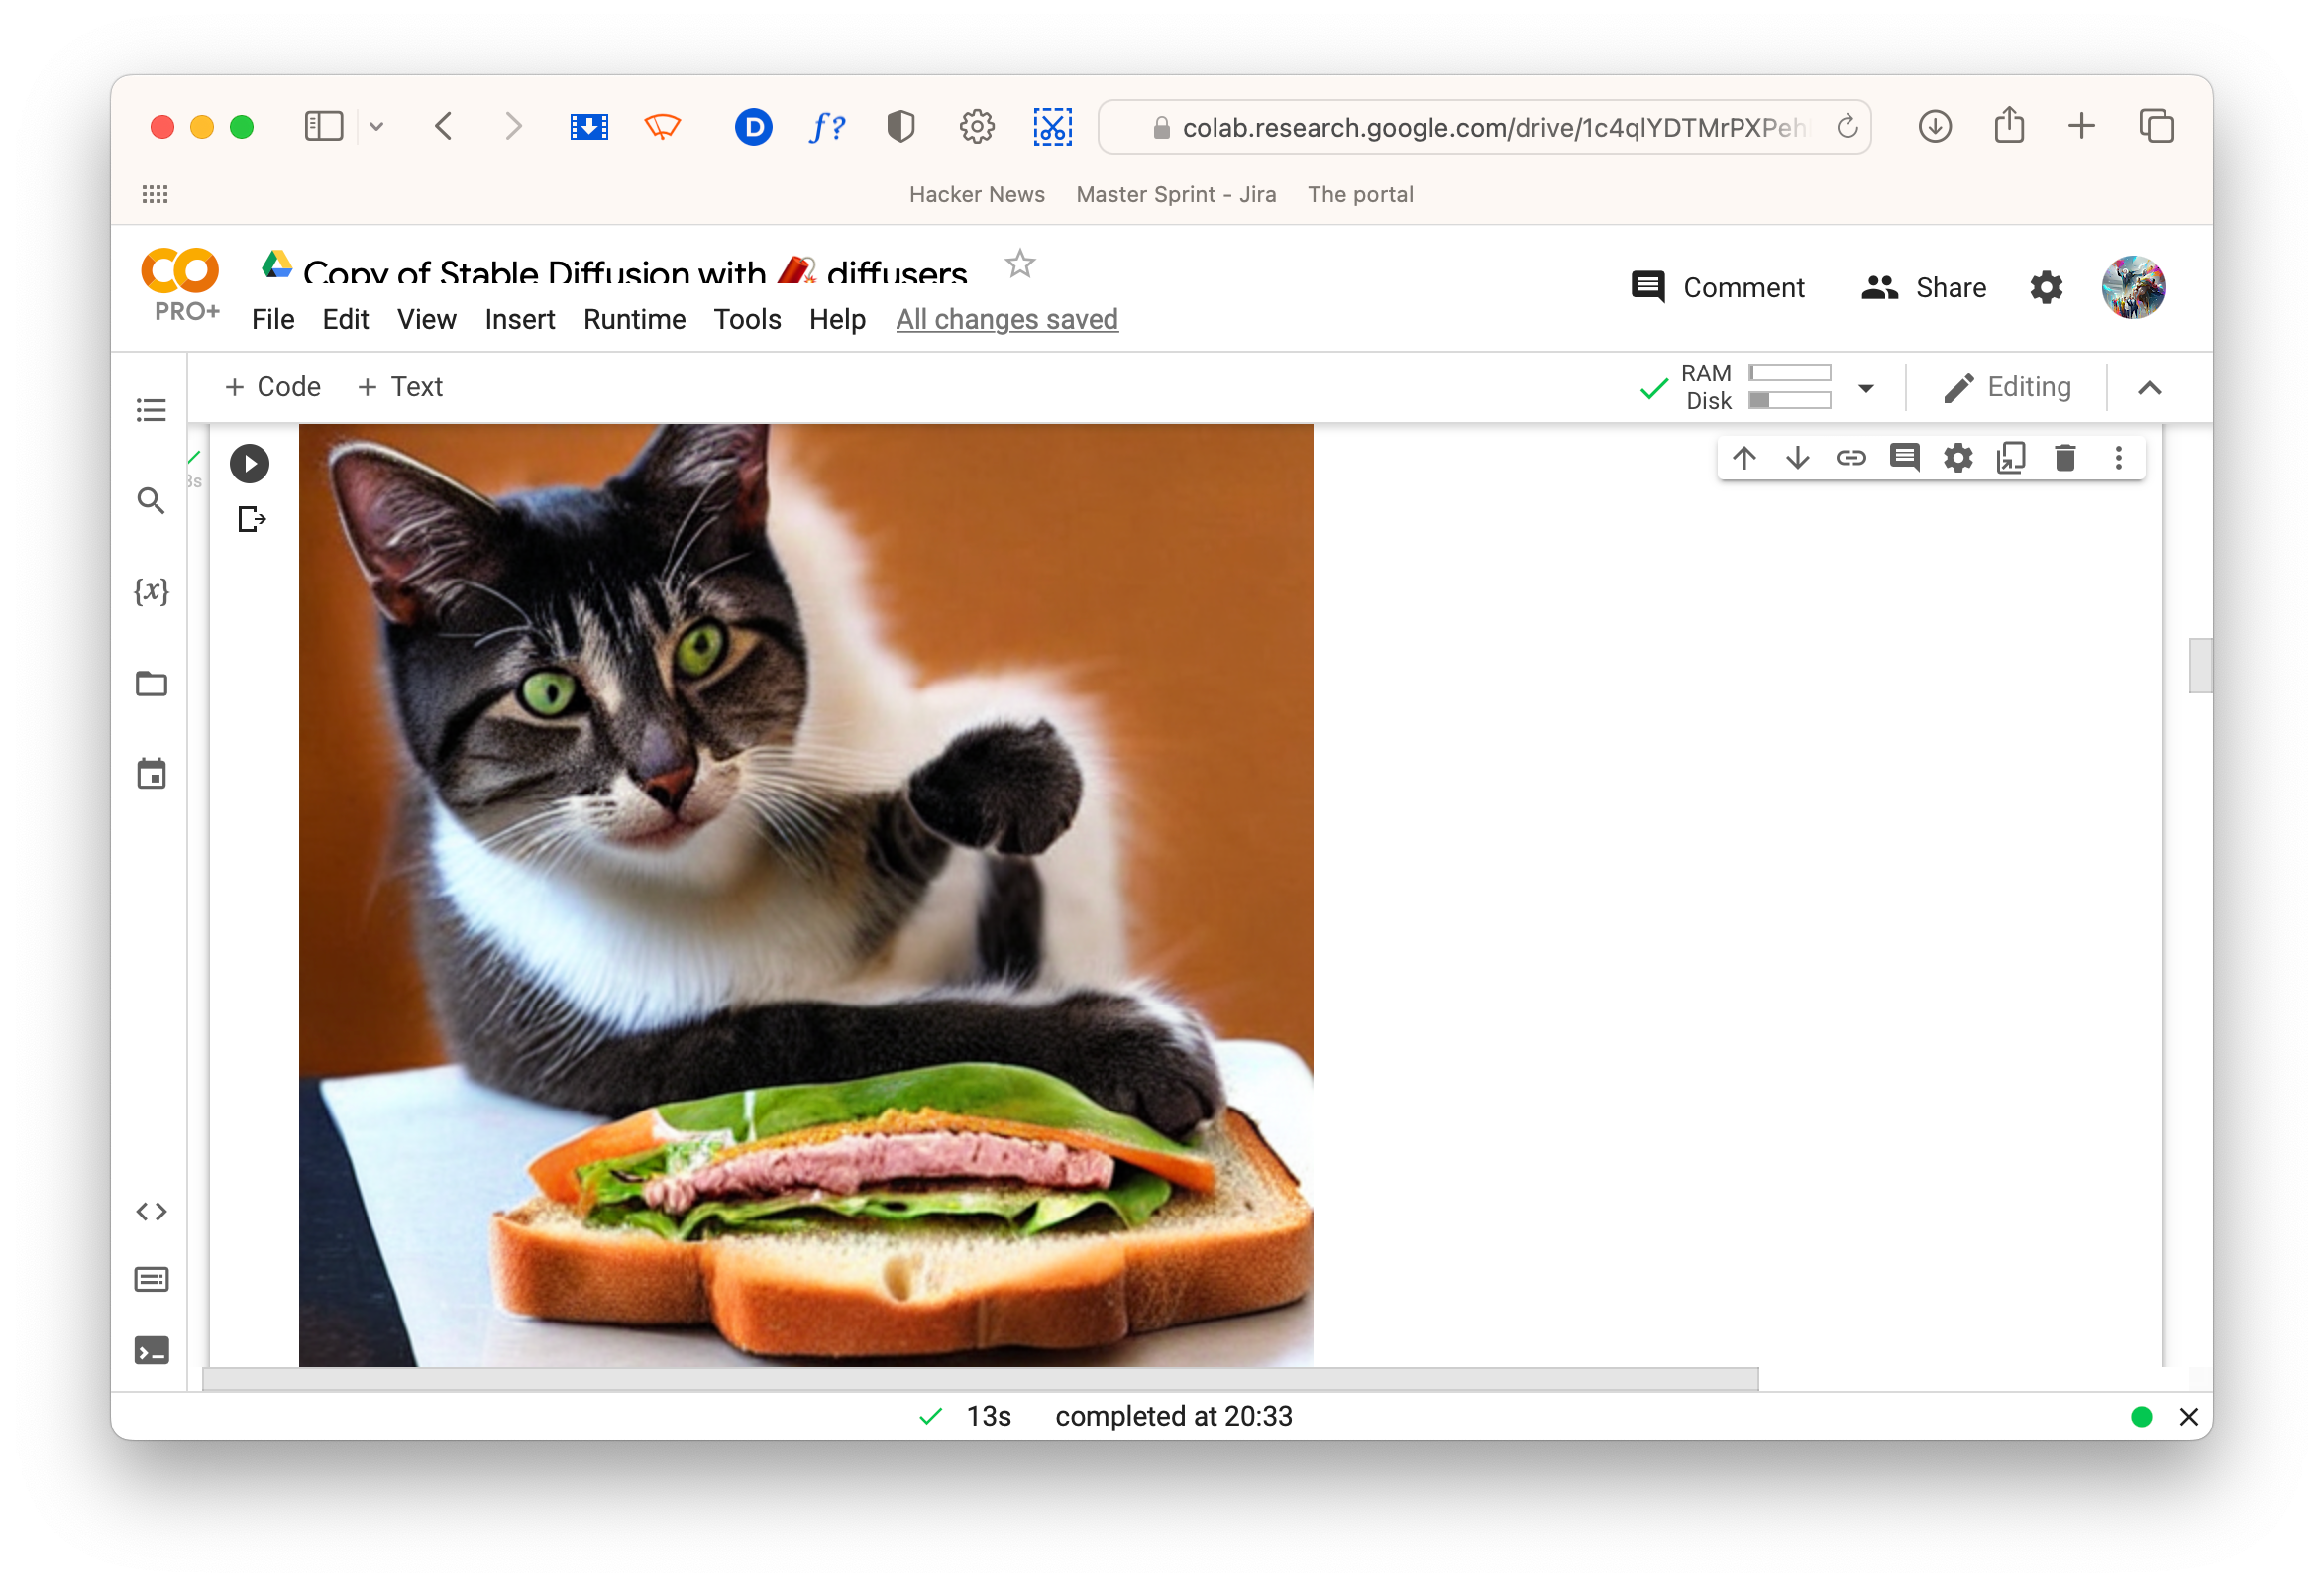
↑ A cat eating a sandwich.
As well as being a quick way to get started, this notebook is also a tutorial for developing with SD, so it has quite a bit of info on how it works as well as examples of the various settings. It’s worth experimenting with.
Stable Diffusion Web UI
Installation and setup
I’d recommend using this notebook if you’re planning to work with SD a lot, and I’d also suggest upgrading to Colab Pro or Pro+ as you’ll be able to leave it running in the background for longer.
As with the previous notebook, open it and save a copy to your Drive.
Run all the cells in Setup stage 1 and allow it connect to Google Drive. Once done, any images you generate are saved to your Drive, so you don’t lose work when the session ends.
The next step is to save the SD model into your drive. You only need to do this the first time you run the notebook and it means the model will be available to other SD notebooks as well.
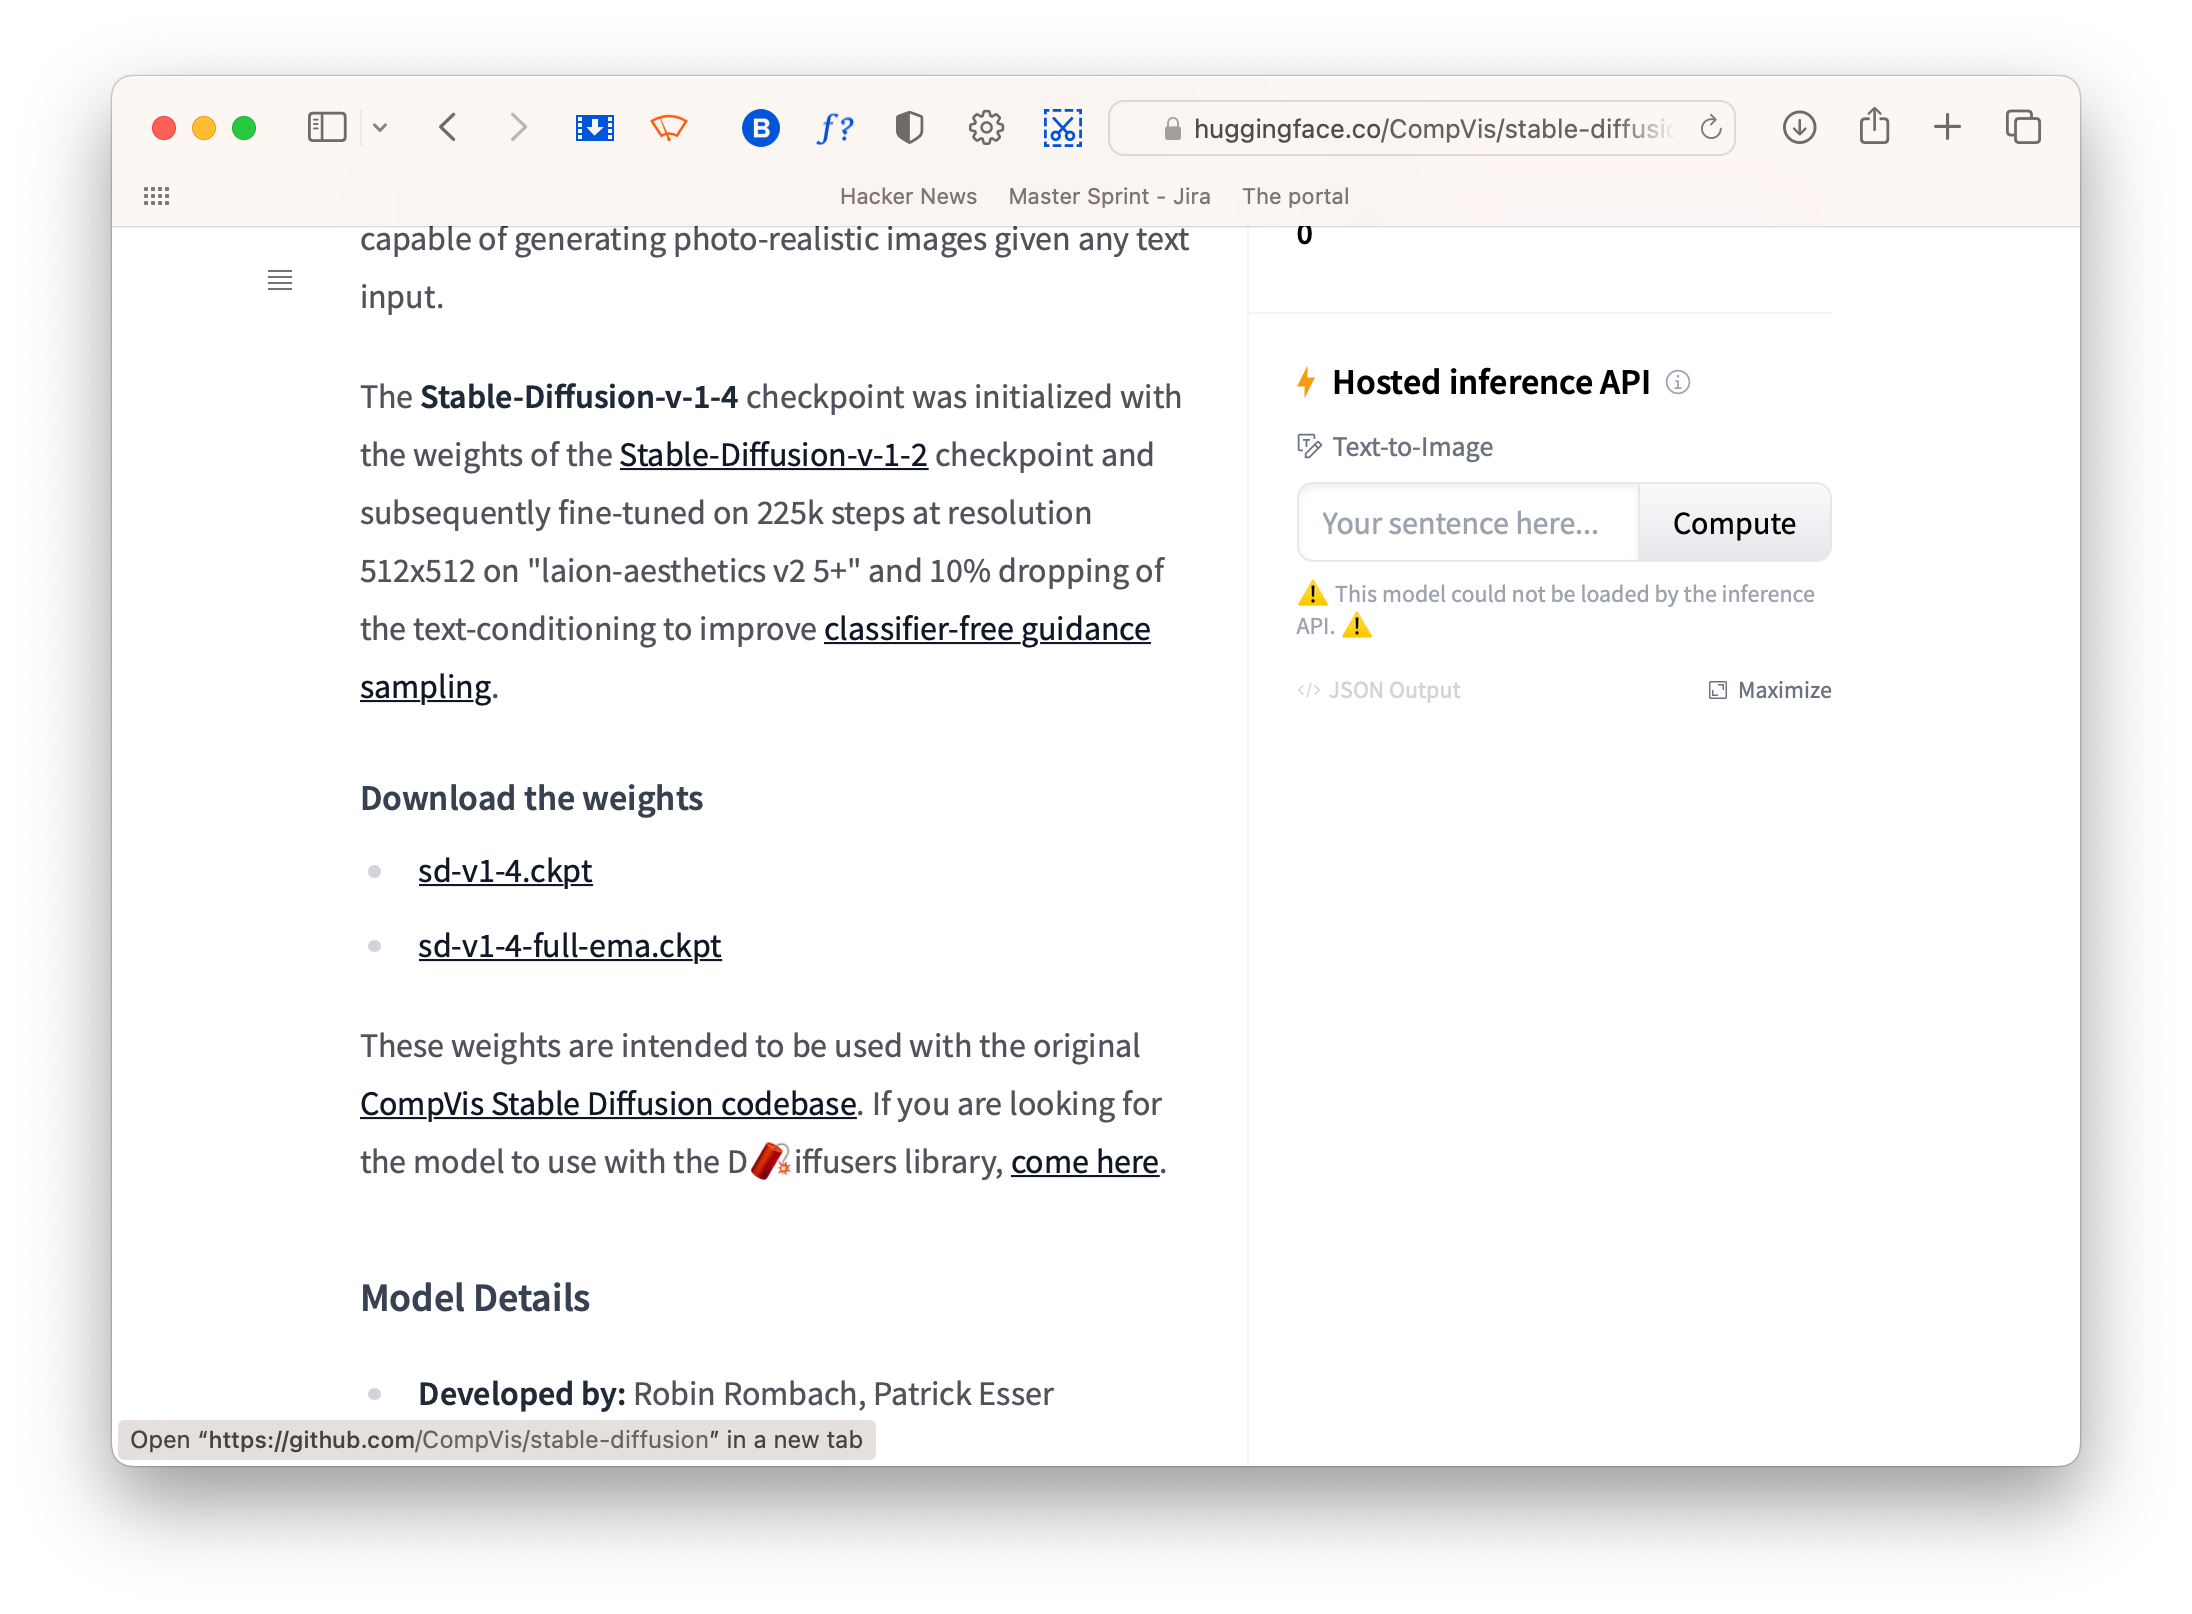
↑ Model download link on Hugging Face.
First, go to the SD page on Hugging Face and click ‘Access repository’. Login or create a Hugging Face account and click the sd-v1-4.ckpt link to download. Save it to My Drive > AI > models in your Google Drive.
When the model is fully uploaded, run steps two and three. As step 3 runs, look for two lines that look something like:
Running on local URL:  http://localhost:7860/
Running on public URL: https://XXXXX.gradio.app
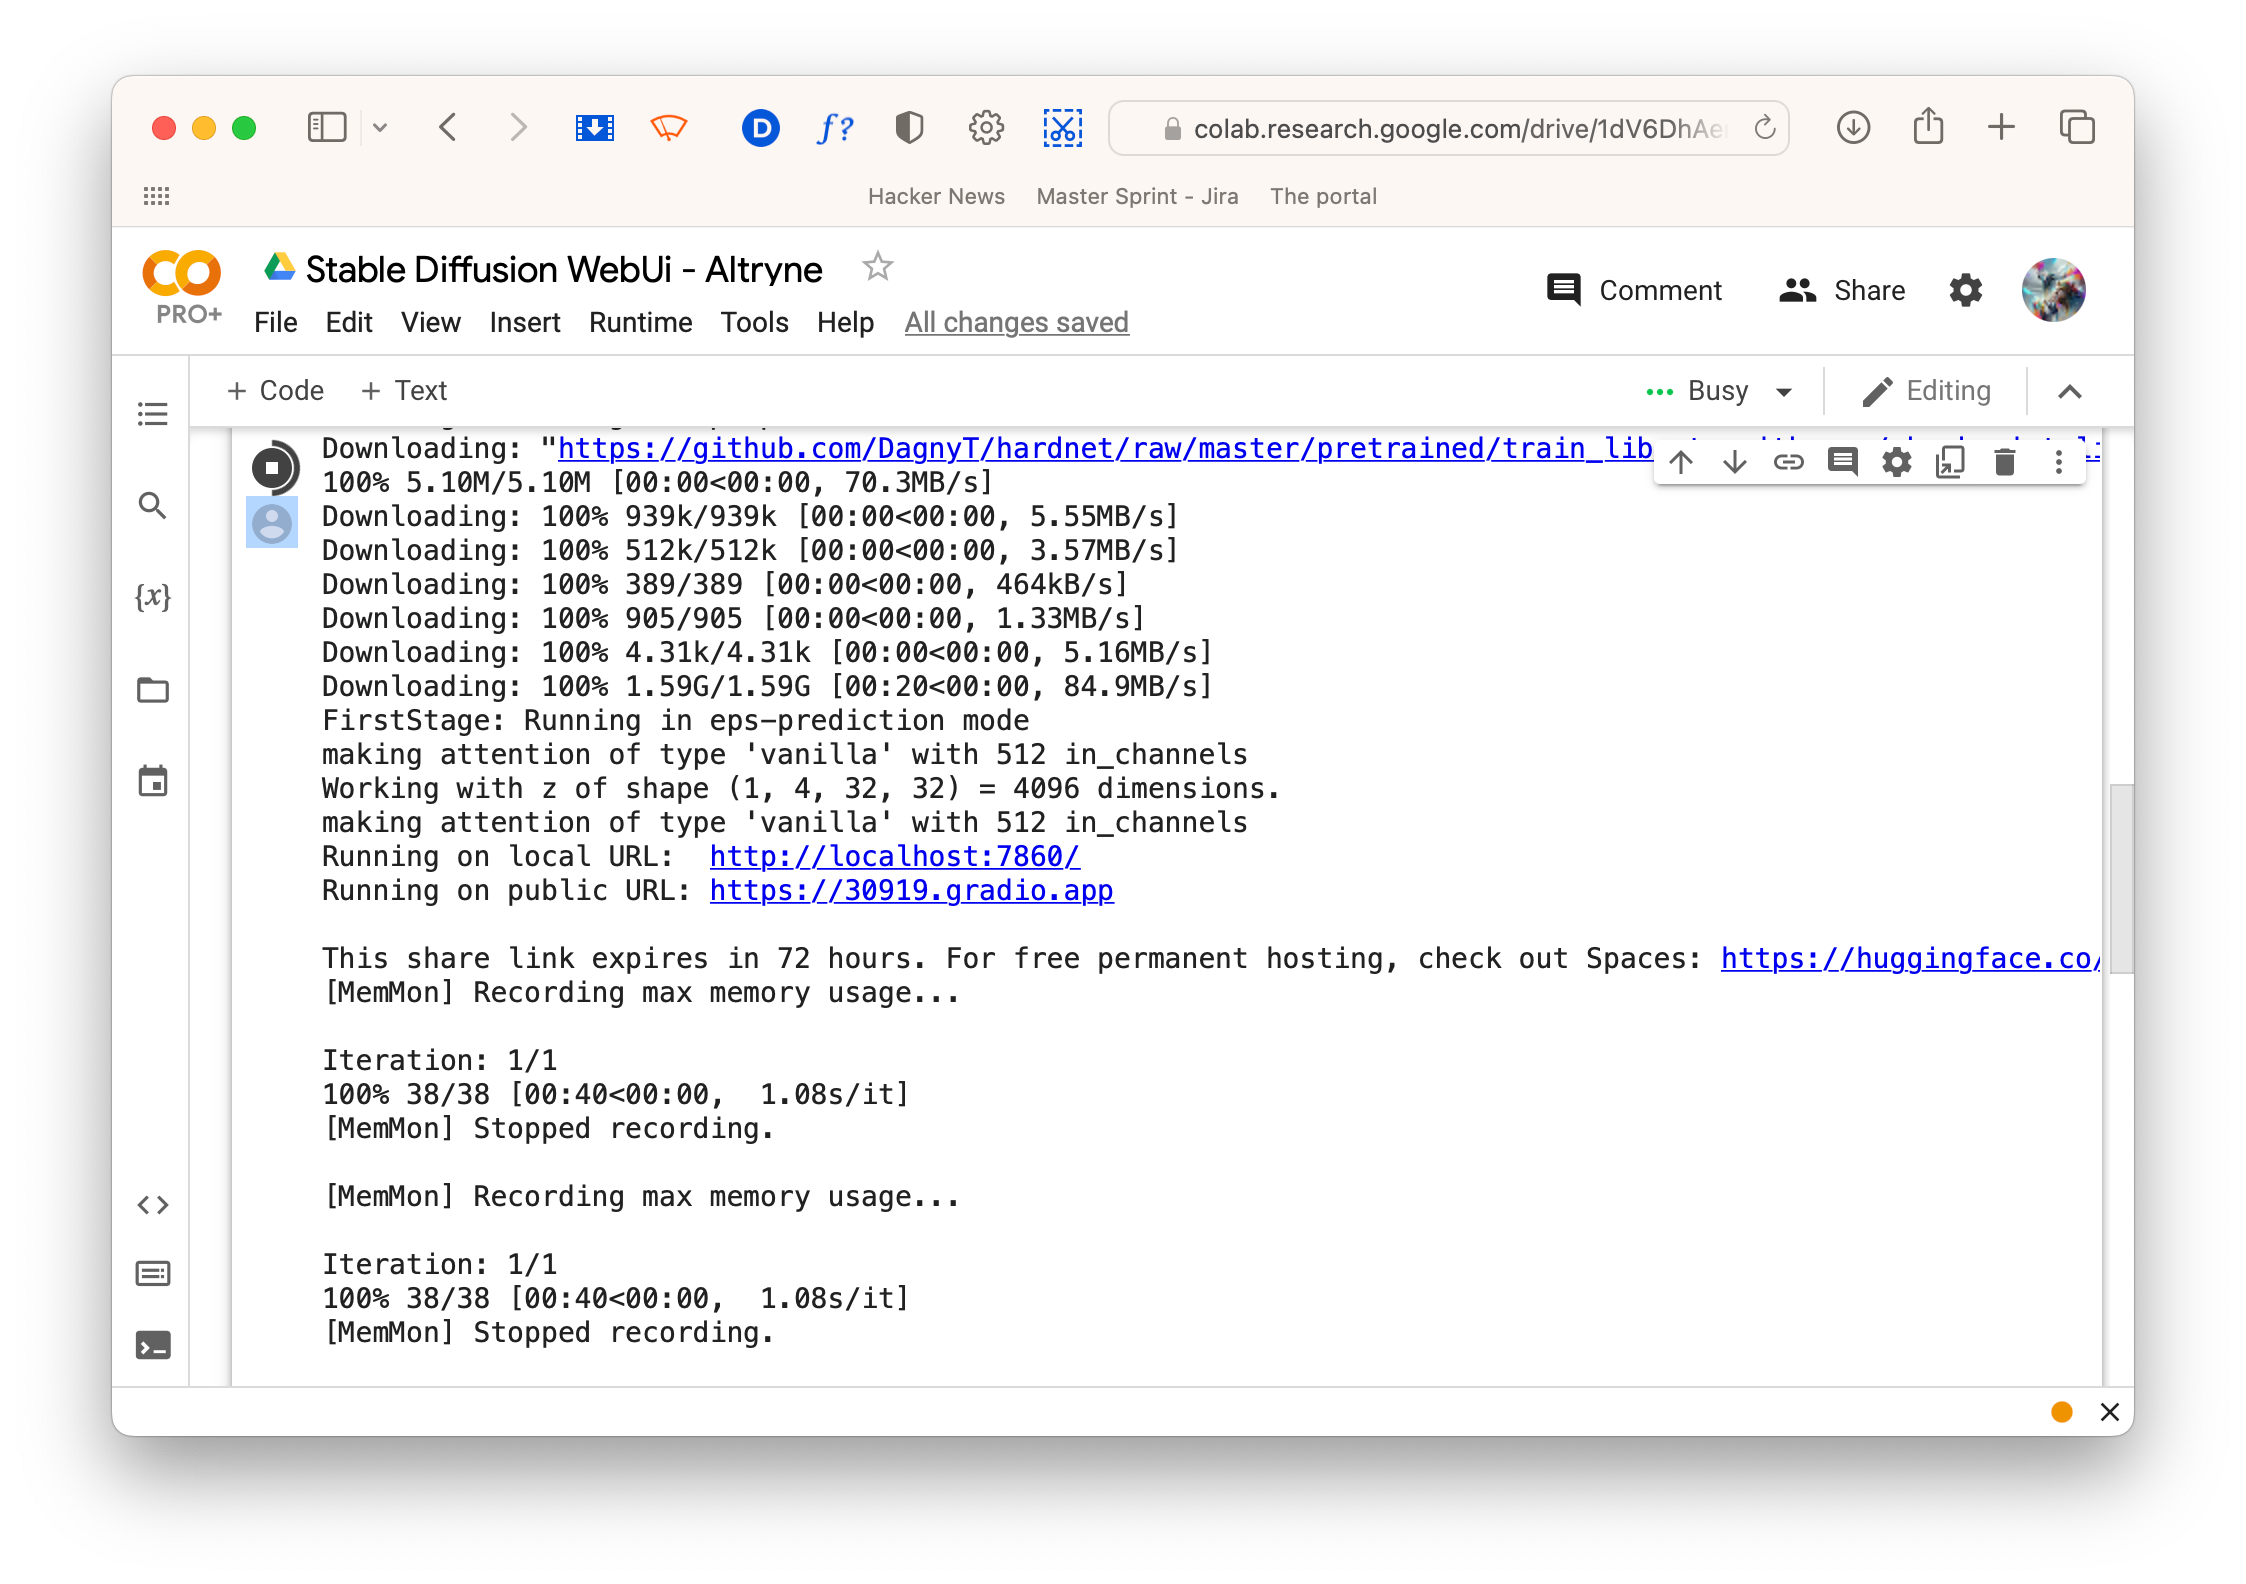
↑ Where to find the URLs.
These are the URLs that the web UI are available on. Click the public URL link – this lauches the web interface and will work on any device. Free colab will keep running for about 90 mins before disconnecting if you keep the notebook tab open, whereas Colab Pro will keep running for up to 24 hours even with the tab closed.
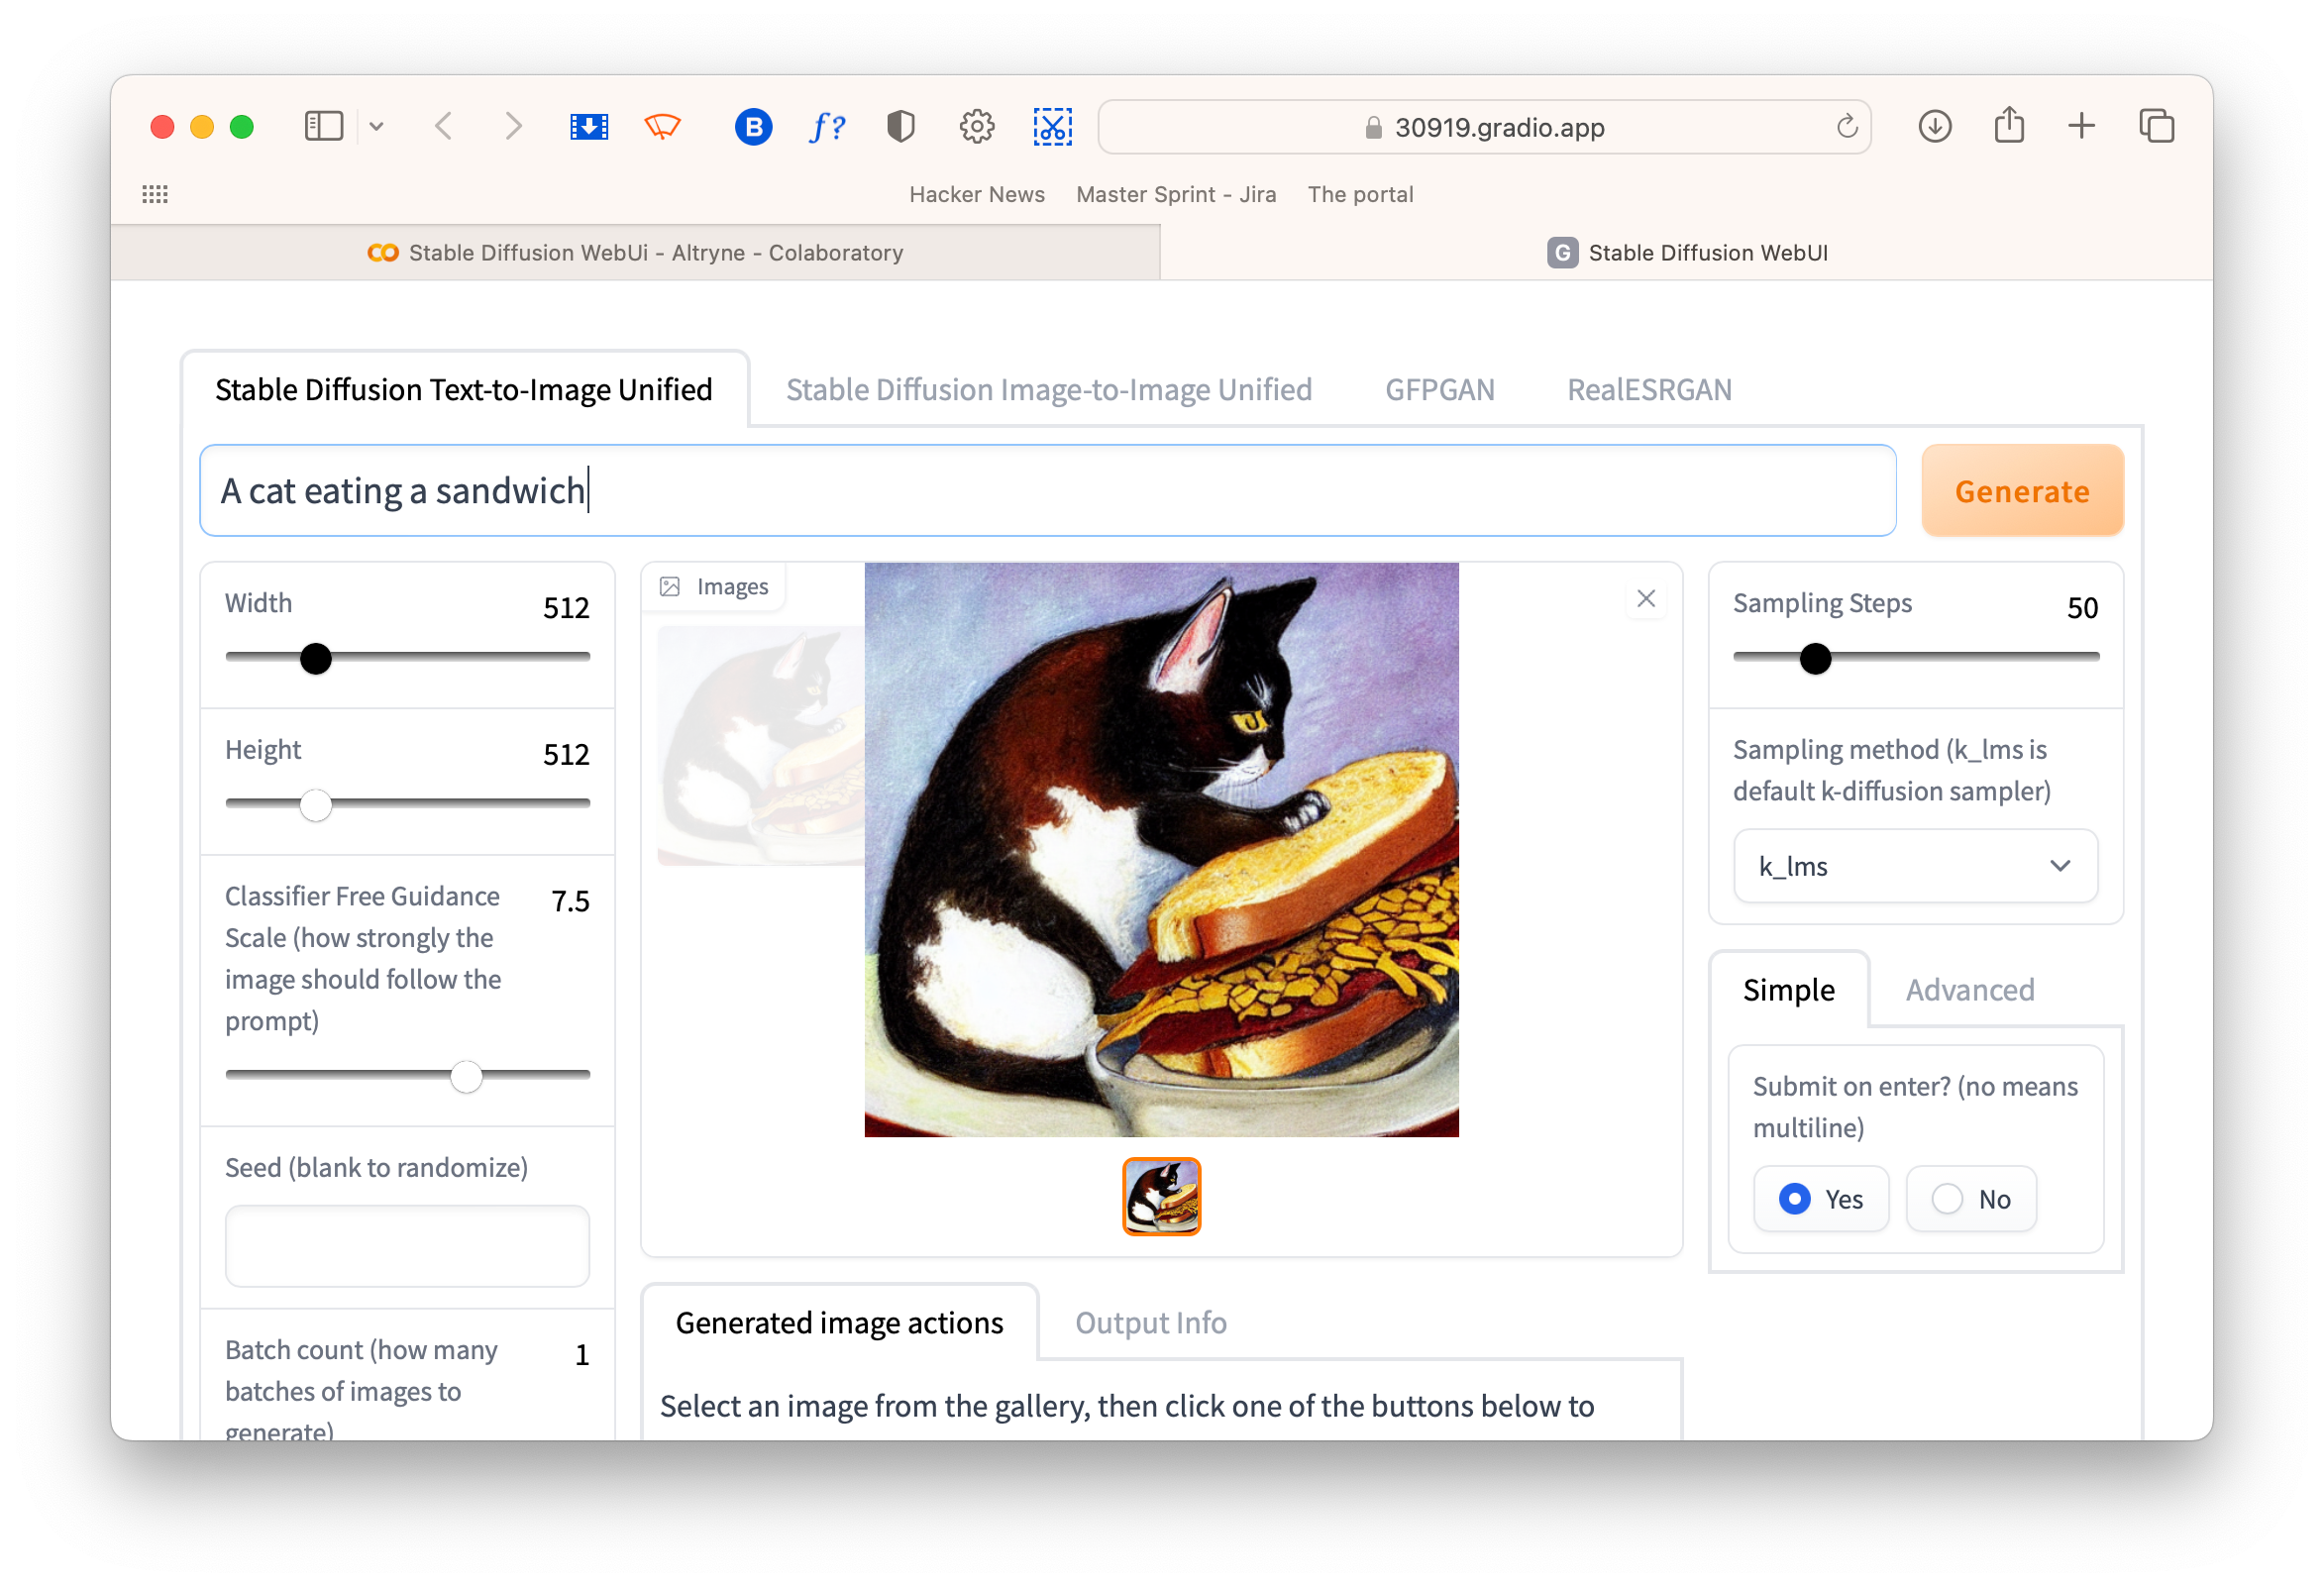
↑ A cat eating a sandwich.
Using the web interface
Stable Diffusion Text-to-Image Unified
This is the standard text-to-image interface. Enter a prompt and click the Generate button to get started.
Stable Diffusion Image-to-Image Unified
A fun feature not available yet in apps like Dream Studio, this is where you can upload an image or do a quick drawing and SD will transform it based on your prompt.
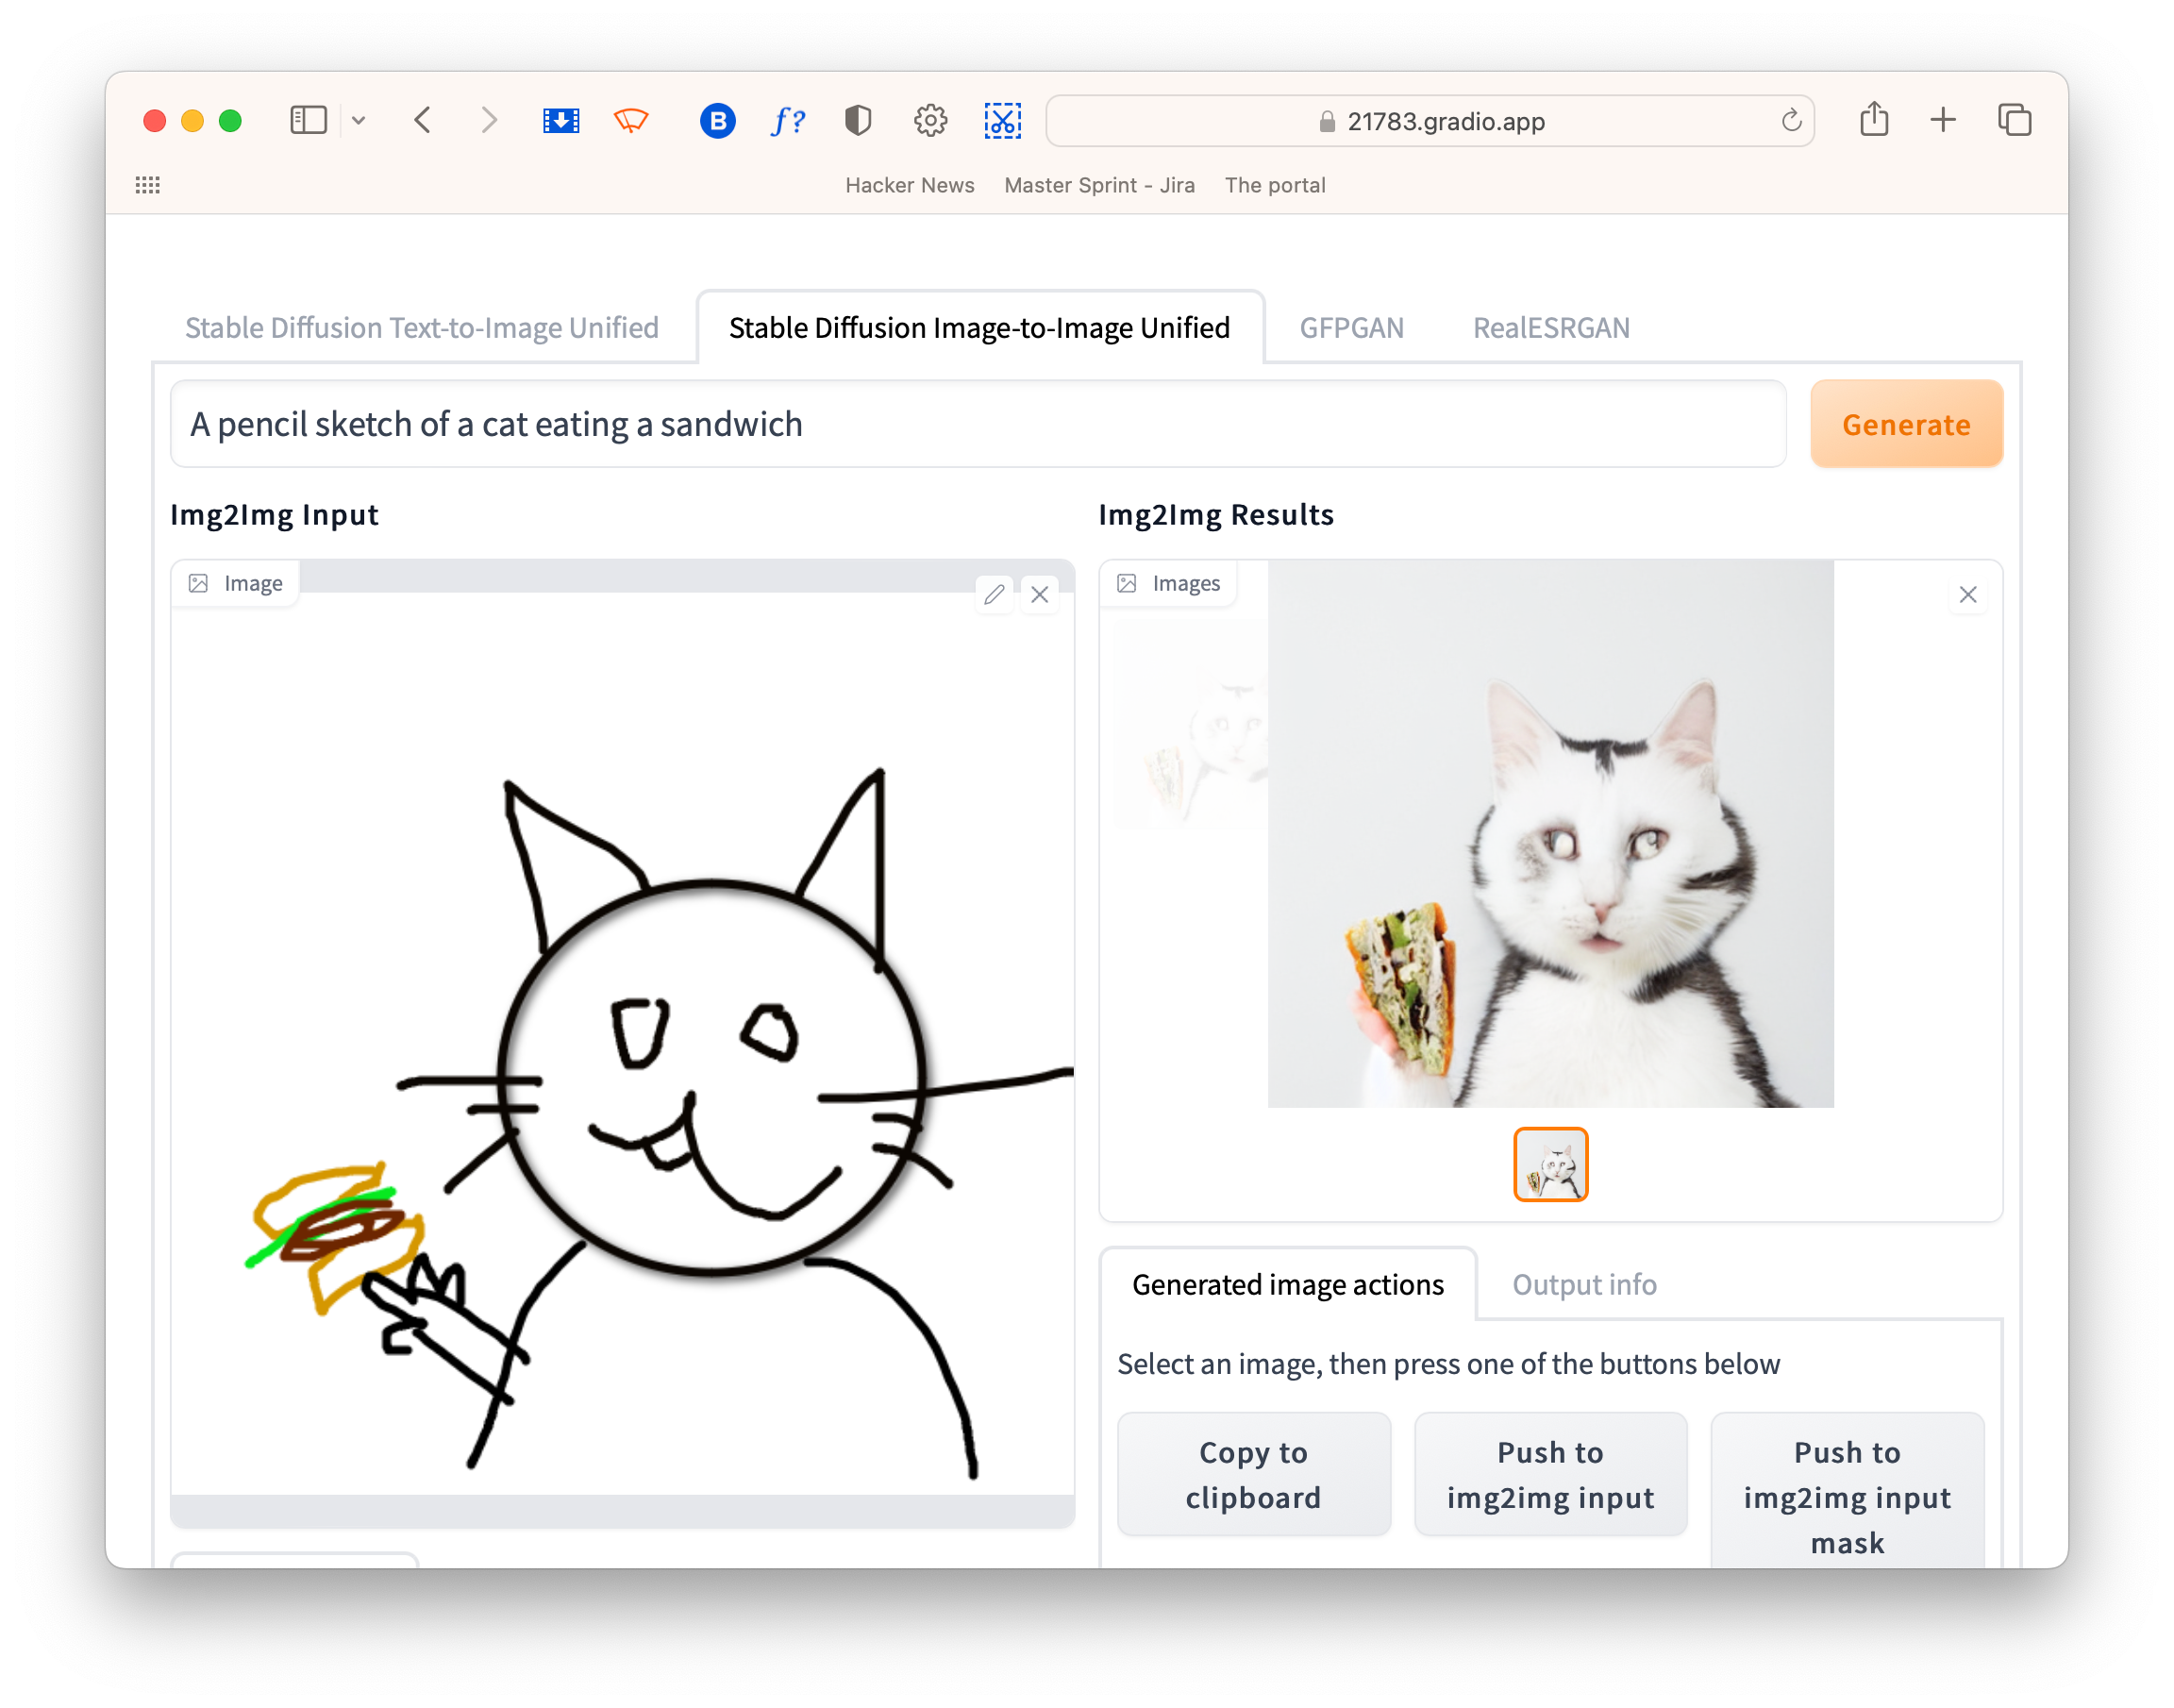
↑ SD's sandwich cat is much better than mine.
GFPGAN
Good though SD is, it still struggles to get faces right. GFPGAN is a separate face restoration model that can sort out some of the problems. You can either pipe the results directly from SD into GFPGAN or upload an image to work on it separately,
RealESRGAN
RealESRGAN is an upscaler, and can enlarge images up to four times. SD images are quite small, so upscaling is recommended if you want to do anything with the images. Again, you can pipe images directly into ESRGAN or upload and upscale them separately.
Thanks for reading! If you have any questions, comments or suggestions, I’d love to hear from you. Give me a shout on Twitter, or send an email.