 Unlimited Dream Co.
Background
Created by Katherine Crowson, VQGAN+CLIP is a powerful text-to-image generation tool. Enter a prompt and it’ll create an image that matches the text.
VQGAN and CLIP are two separate neural networks that work together to create an image. CLIP is an image classifier, able to tell how well an image matches a text prompt, while VQGAN is an image generator, able to create images that look like other images. During the generation process, VQGAN creates an image and CLIP determines how well that image matches the prompt. Over many iterations, the result gets closer to the prompt until CLIP is satisfied that the prompt and the image are the same.
The system also needs a dataset – this is what the networks use to understand the prompt and create the images. Some datasets, such as ImageNet, are trained on millions of images and enable VQGAN to generate pretty much anything you ask.
What you’ll need
Computing platform
Running the neural networks requires a powerful GPU, so unless you already have one, it’s much more cost-effective to use cloud hardware and run the models remotely.
Google Colab is a good option as it’s easy to use and has a reasonable free plan. When you’re at the point to go further, upgrading to Colab Pro+ will give you significantly more computing resources.
Colab is a computing environment where you can run custom programs and see the results straight away. These are known as notebooks, which are basically Google Docs that you can write and run code in. Don't worry though, you don't need to know Python or touch any code for what we'll be doing.
VQGAN+CLIP notebook
Lots of different VQGAN+CLIP notebooks are available, but I recommend starting with the S2ML Image Generator by @somewheresy as it offers a good balance between keeping things simple and providing lots of options.
Set-up
Open the notebook, then click the ‘Copy to Drive’ button. This will save a copy of the notebook in your Google Drive. From now on you can use your personal copy, rather than the one linked above.
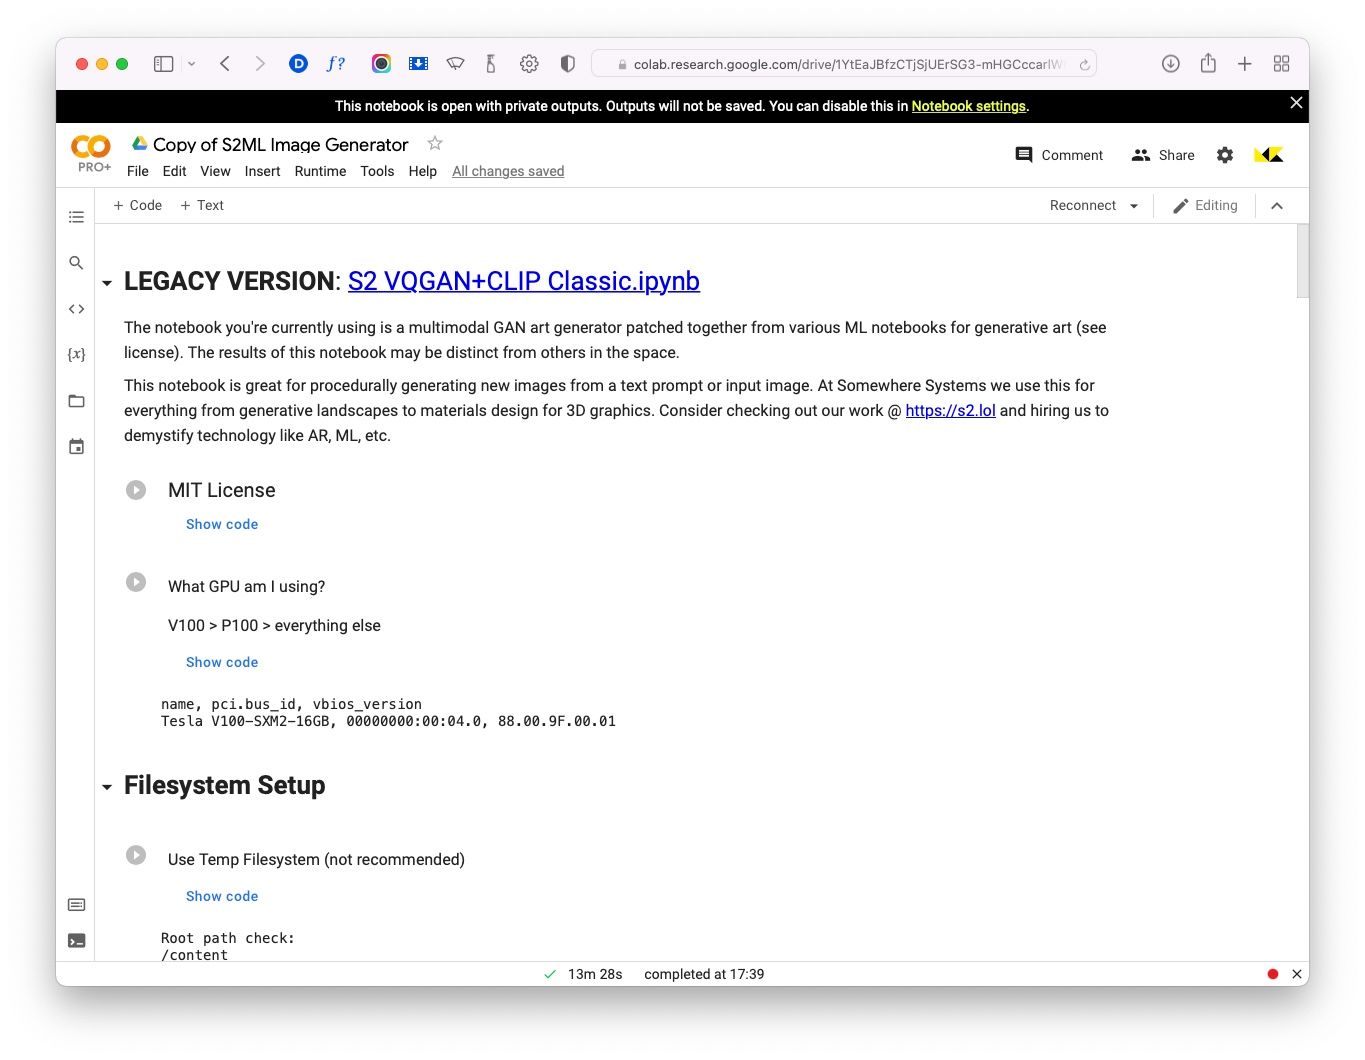
↑ The S2ML Colab notebook.
Run the ‘What GPU am I using?’ code cell by clicking the play button next to the title. This will show you the type graphics card you’ve been allocated. For larger images you’ll need a V100 or A100 which are only available on the paid plans.
Next, run ‘Connect to Google Drive’. This is very much recommended as it’ll store the models and your generated images in your Google Drive, rather than locally in your Colab session. It’ll take up a lot of space in your drive, but means you won’t lose all your work when your Colab session resets, which it will do a lot.
Install all libraries, then select the model you want to use. Models are large and can take a while to download so I’d recommend only selecting the one you're planning to use. To start, I’d recommend de-selecting diffusion and selecting the imagenet_16384 model. Different models produce different results, so you can experiment later to see what they do. Lastly, run the ‘Load libraries’ cell.
Image generation
This is the fun part where you tell the AI what you want it to do and it goes away and generates your image.
Set global parameters
Seed: This determines the random noise that’s used to start the image generation process. Keeping the value at -1 will generate a new seed each time, whereas setting it to any positive number will generate the same pattern each time for that number. This is useful if you want to compare the effect of different prompts or initial images across multiple runs.
Display frequency: This determines how often you see a progress image. Setting the frequency to 50 will show progress every 50 iterations. 30-50 is a good number.
VQGAN + CLIP
Prompts: This is where you write your description of what you want the model to create. For example, enter Happy flowers in a sunlit field and the model will do its best to generate an image that matches that description. See the section below on writing good prompts.
Width, height: These are the dimensions of the generated image. Leave these at 512x512 unless you have powerful GPU as setting the dimensions larger will cause it to run out of memory and crash.
Clip model: Select the CLIP model to use. Larger models produce a more detailed image, but are memory hungry and can cause crashes, so leave it at ViT-B/32 for now.
VQGAN model: This tells the system which model to use and must match the model(s) you’ve downloaded. If you selected imagenet_16384, earlier then make sure imagenet_16384 is selected here too.
Initial image: This is where you can specify your own starting image, instead of random noise. The system works from this image to create something that looks like your prompt. I them extensively as they have a big impact on the final result. I’ll go into these in more detail in another article.
To load in image, you’ll either need to upload it to your drive or to the local Colab filesystem. Find the file in the Colab file browser, right click on the file and select ‘Copy path’. Paste that path into the field.
Target images: These work like another prompt. The system will use the image you specify here as a goal to work towards, in combination with the text prompt. While they can be useful, the effect isn’t as pronounced as with initial images.
Max iterations: This specifies how many iterations to run before stopping. I’d recommend setting it to no more than 1000-1200 as the generated image has usually stabilised by then and you can quickly reach usage limits with free Colab.
Advanced VQGAN+CLIP parameters: I’d recommend leaving these as they are for now as they can produce unexpected results. They are worth experimenting with later though, as you become more familiar with the system.
Run the cell!
At first it’ll show a murky brown square (unless you’ve set an initial image), but as the system iterates, your image will gradually appear out of the gloom, like an AI-powered Polaroid.
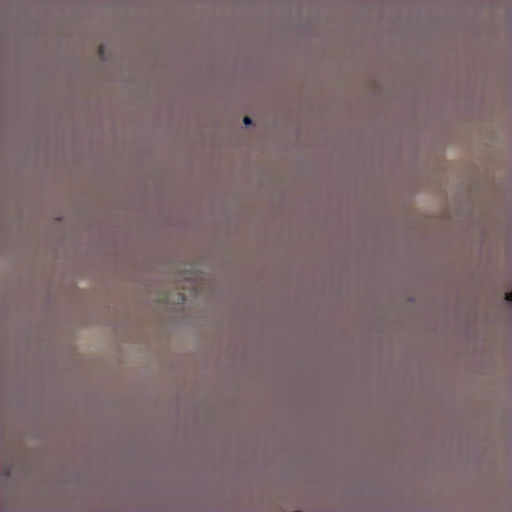
↑ Image at 1 iteration.
By about 300-400 iterations you should have a good idea of how the final image will look and you can decide whether to keep it or tweak the prompt and try again. Further iterations may add more detail and clarity, but you won't generally notice much difference above 1000.
If you've connected your Google Drive, all iteration images will be saved in the 'S2ML/vqgan-steps' folder so you can access them later, but beware they will be overwritten if you start a new run.
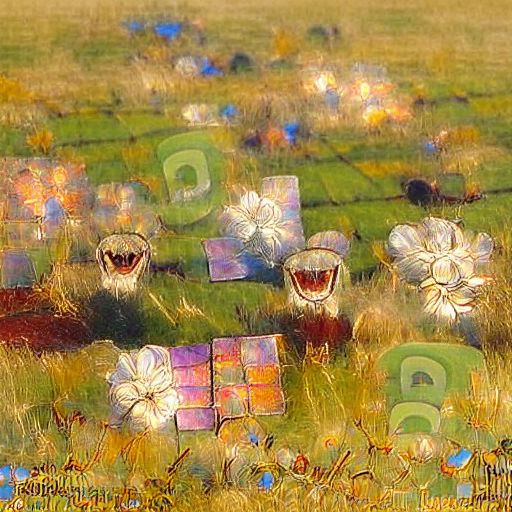
↑ Image at 1000 iterations.
You’ll notice that while the image sort of looks like the prompt – we have a greenish field and blobs that could be happy flowers – it’s not great. Definitely room for improvement.
Writing good prompts
The quality of the result depends on the prompt. Our image wasn’t that great because the prompt didn’t contain enough detail – we left the settings on default. The more specific you are, the more you give the system to work with, and the better the result will be.
You might get a better result from the prompt: ’Tall happy sunflowers in sunlit field surrounded by trees | trending on Artstation’.
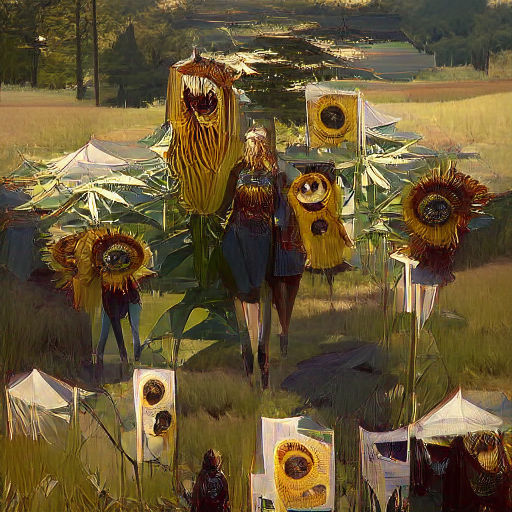
↑ At 1000 iterations, using the same seed.
You can see the result is much better – there’s a field with a forest in the background, the flowers definitely look like tall sunflowers and it’s all generally much sharper.
I’ve done a few new things here: I’ve specified the type of flower, I’ve added more detail to the environment and I’ve added a second prompt by separating it with the ‘|’ character. The second prompt is interesting as it’s a style modifier – it describes what the image should look like rather than just specifying a subject. You can even use an artist’s name as the modifier – if they’re in the dataset it’ll apply their style to the output.
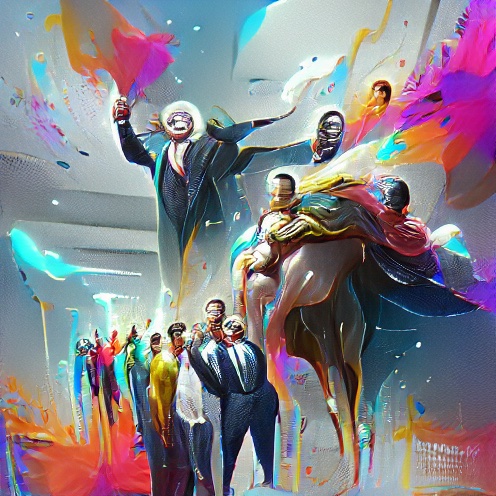
‘Tall happy sunflowers in sunlit field surrounded by trees | in the style of Vincent Van Gogh | trending on Artstation’
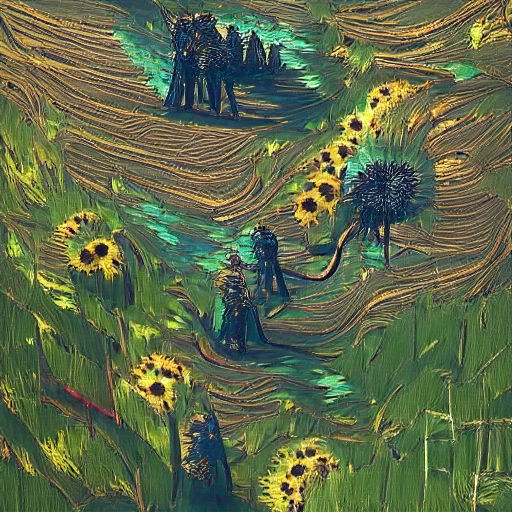
↑ At 1000 iterations, using the same seed. Very Van Gogh-like.
The best thing to do is to play with prompts, experimenting with subjects, styles, genres, descriptions and more to find out what effect they have on the final image. And most importantly, have fun!
Other notebook options
CLIP-Guided Diffusion
This is another method of generating images that works differently to VQGAN. It also requires more computing resources, so I’ll cover this in another article.
Upscale a folder of images
As your generated images can be quite small, this is a handy function to make your images bigger with an AI upscaling model. There are lots of options for upscaling images, so I’ll cover them in more detail in another article.
Generate a video
This creates a video from your output images and is a fun way of bringing your generation to life. You’ll probably want to upscale your images before creating your video so that the video is at a reasonable size.
Thanks for reading! If you have any questions, comments or suggestions, I’d love to hear from you. Give me a shout on Twitter, or send an email.