 Unlimited Dream Co.
We’ve all seen movies and TV shows where a crimefighter orders a computer tech to enhance the blurry CCTV footage they’re looking at. After some gratuitous keyboard rattling from the tech and bleeping from the computer the picture resolves to show the face of the bad guy reflected in a contact lens.
This is, of course, nonsense.
One of the fundamental rules of image editing (and of the universe in general) is that you can't show what isn't there - if data was lost or not captured, you can't recover or reconstruct it. It's possible to make an image bigger, fix the contrast, sharpen the edges and balance highlights and shadows, but that grainy CCTV image will never give up more detail no matter how loudly a renagade-but-fair cop shouts ‘enhance’ at it.
However, recent developments in artificial intelligence have found a way to solve the problem. AI super-resolution tools are capable of enlarging images at least six times without losing detail and often add more. This would have been a godsend to a (much) younger me who was regularly tasked with turning the potato snaps I was given into images good enough be used full-bleed on a magazine cover.
But how is this possible – how do AIs reverse entropy? The short answer is they can't. The longer answer is that unlike previous upscaling methods which smooth out the worst effects of enlarging an image but can't add more detail, AI super-resolution models are context aware.
This means the AI model understands the content of an image and fills in the missing information with something similar. To do this, the AI is trained on a dataset of millions of images. Training is the process by which the model builds associations between elements in the data and can take days or weeks to complete, depending on the data. Once done, the model will know that large areas of blue tend to be in the top half of images, or that leaves tend to be green. If your image contains a brick wall, it’ll recognise it and fill in the missing areas with brick texture. Same for leaves, faces and whatever else is in your image.
Instead of reconstructing the actual image data, the model adds new data that it thinks could have been there. If our crimefighter used one of these models to enhance their CCTV image, they might well find a face reflected in a contact lens, but it’s unlikely to be the actual perpetrator. Instead, they’d probably end up arresting some random person who was unknowingly included in the training data. Joking aside, there's going to be a lot of interesting cases in the not-too-near future where evidence is thrown out or questioned due to widespread use of this kind of computational photography.
Here are the main free and commercial AI upscalers:
Free, open-source Colab notebook models
Google Colab is a great way to access powerful GPU hardware and try out cutting-edge AI models without installing them locally. However the downsides are that the interface isn't as pleasant to use, especially if you're upscaling in bulk, and you'll have to download the models and install everything each time you open the notebook.
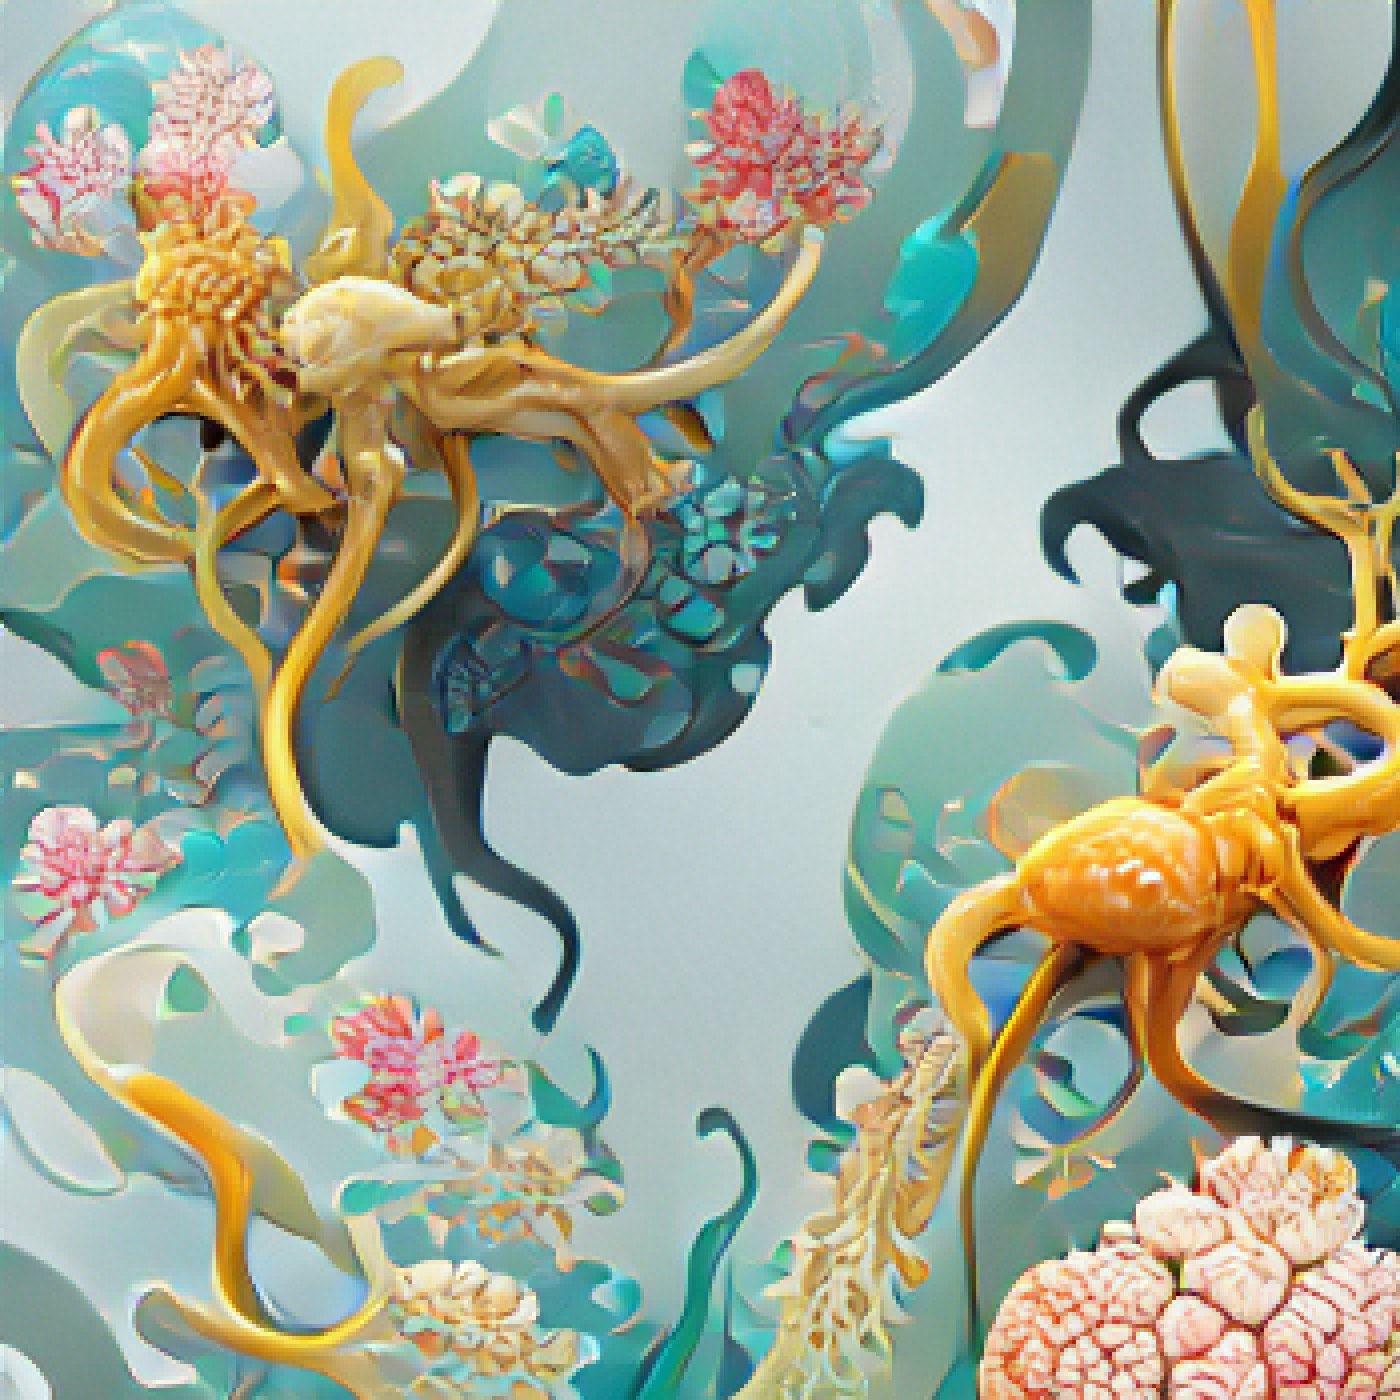
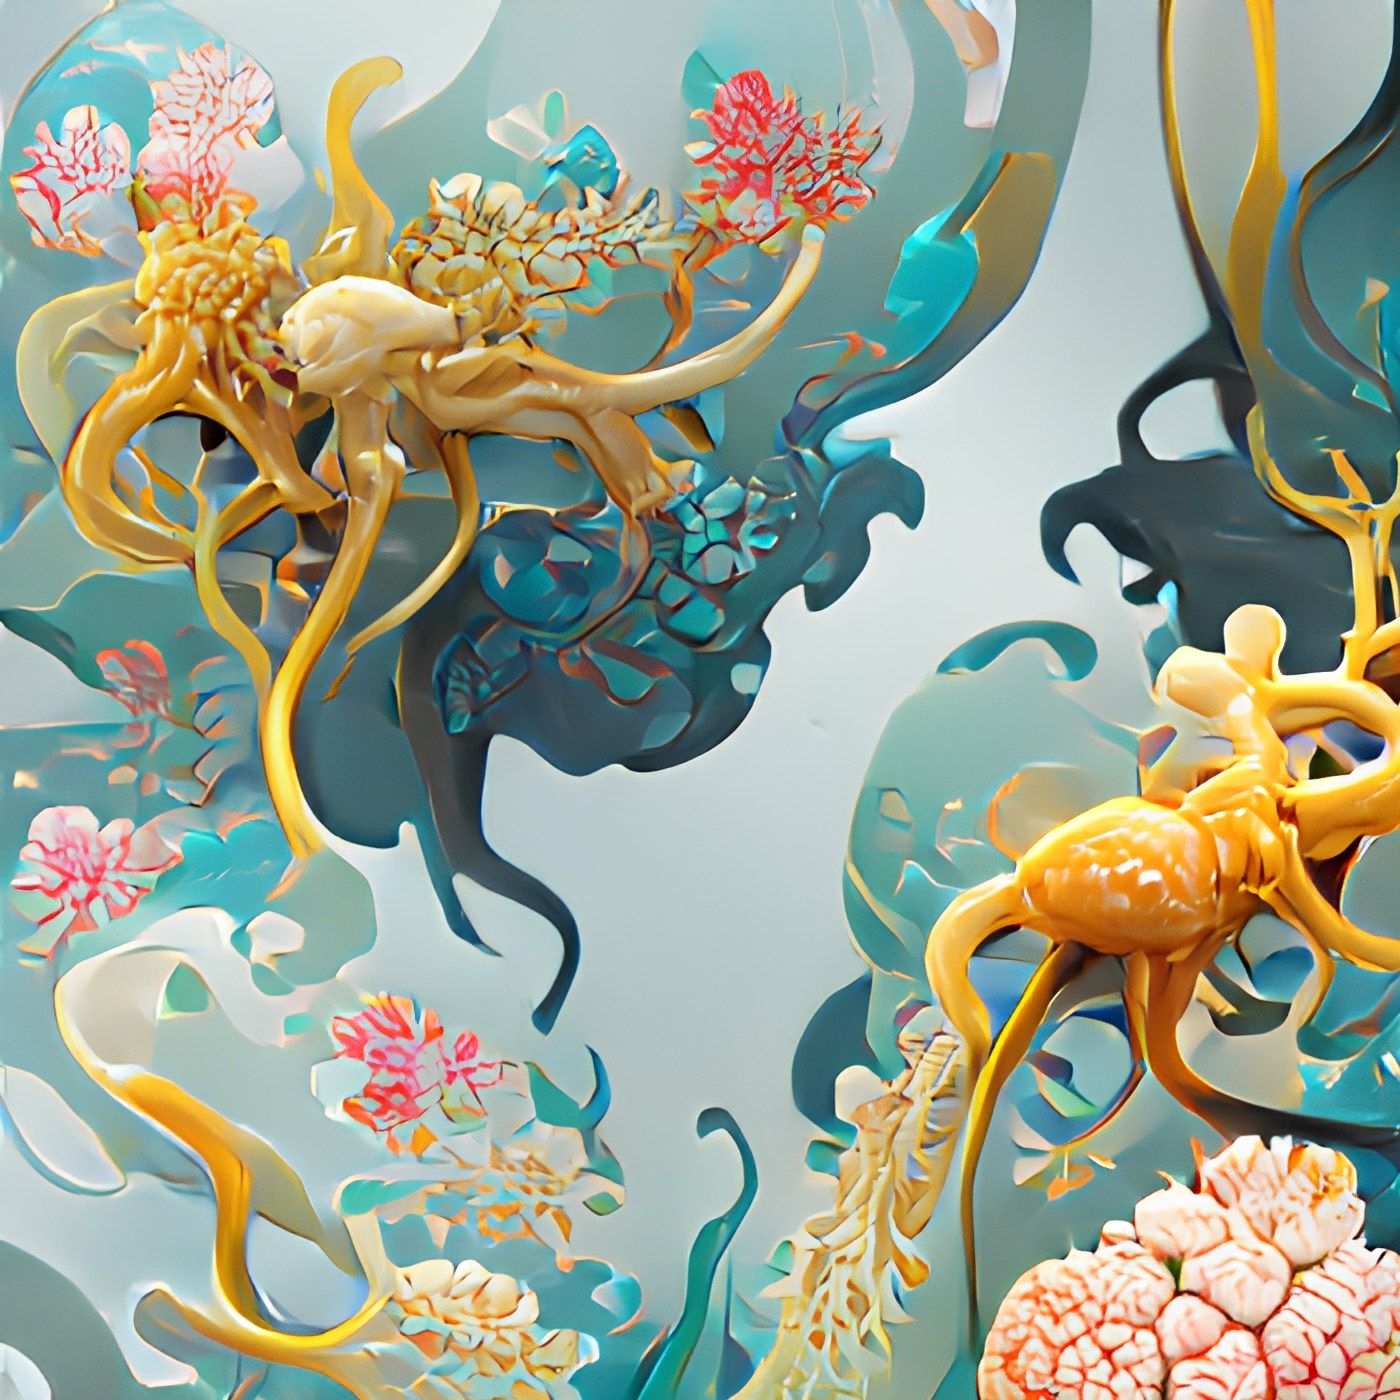
↑ Original image enlarged 4x vs. upscaled 4x with SwinIR.
Of these notebooks, SwinIR is probably the best, however the others may produce good results too depending on the type of image you're upscaling. The SwinIR notebook will also upscale your image with the other models for comparison, so it's probably the only one you need.
Free, open-source local models
As well as running the models in the cloud, it's possible to run them locally on your computer. If you're comfortable with using the command line, Real ESRGAN is available as a cross-platform executable with everything you need, or you can build it from source if you'd prefer.
@LimnDigital suggests using this as part of a workflow to bulk enlarge a folder of images before bringing them into Topaz Gigapixel for a final upscale and polish.
Commercial software
Topaz Gigapixel AI

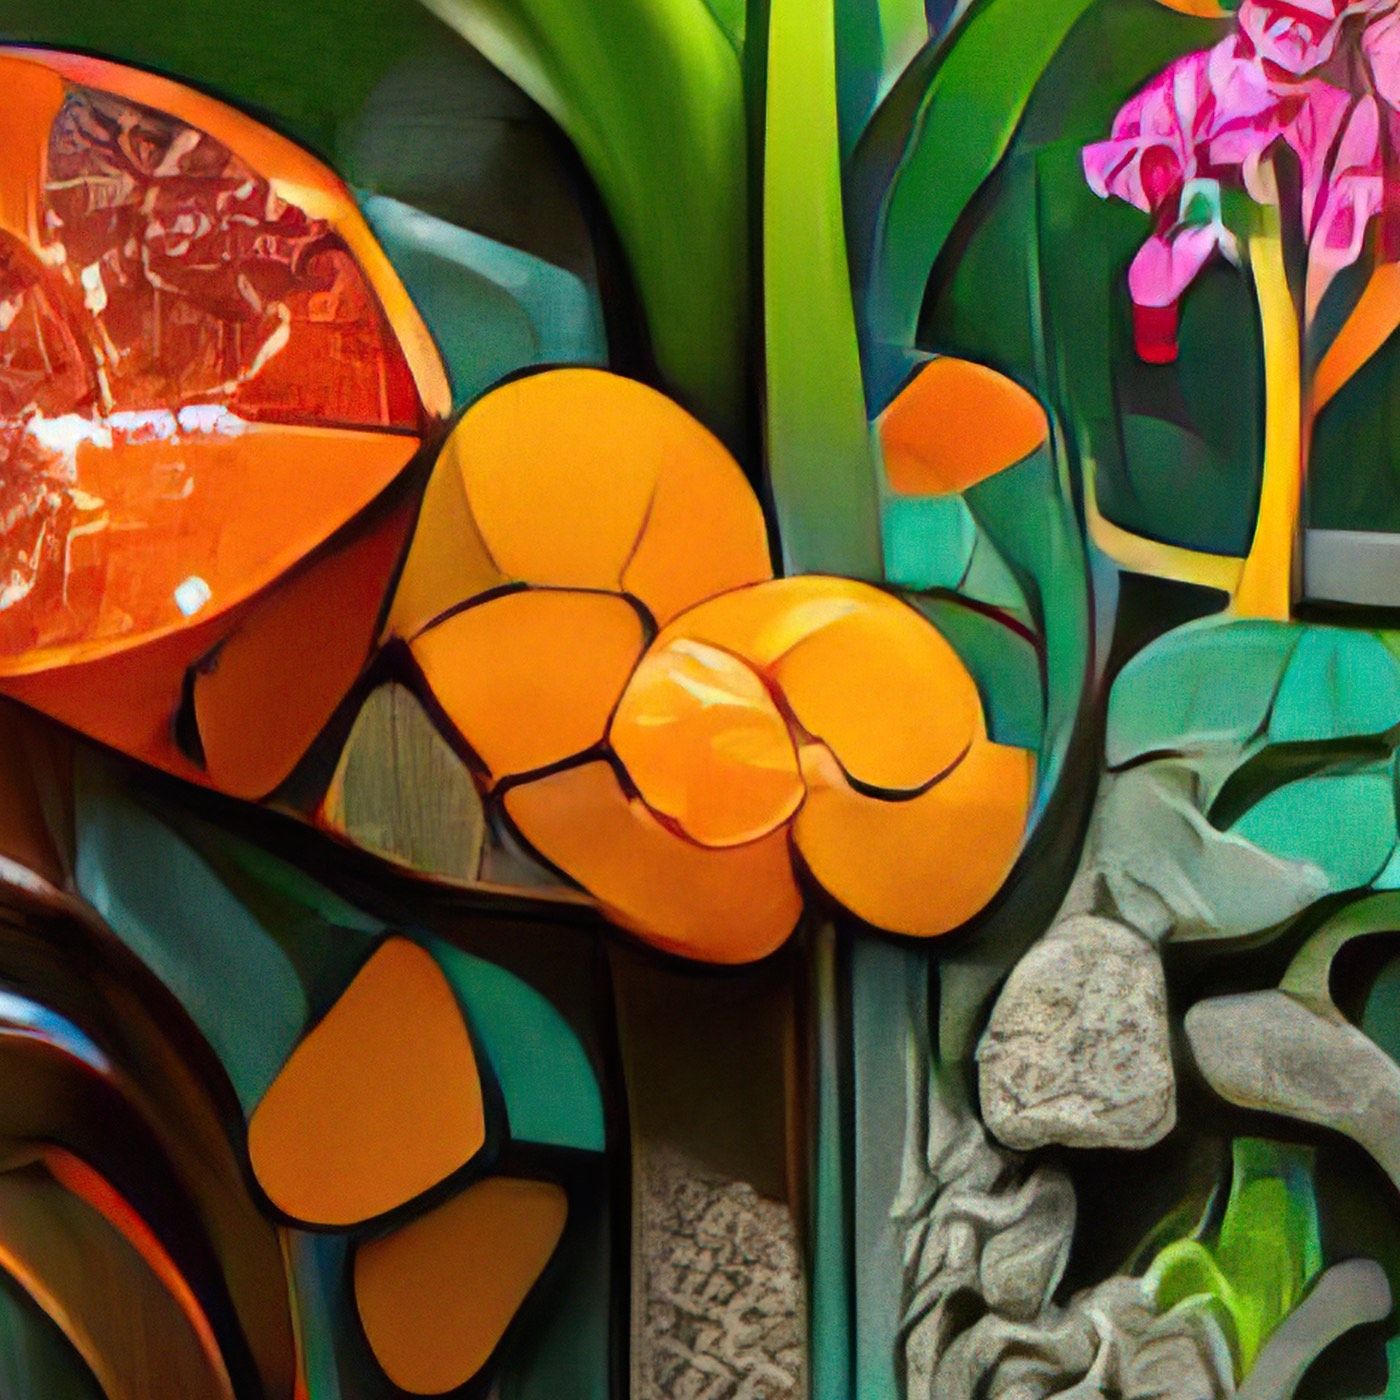
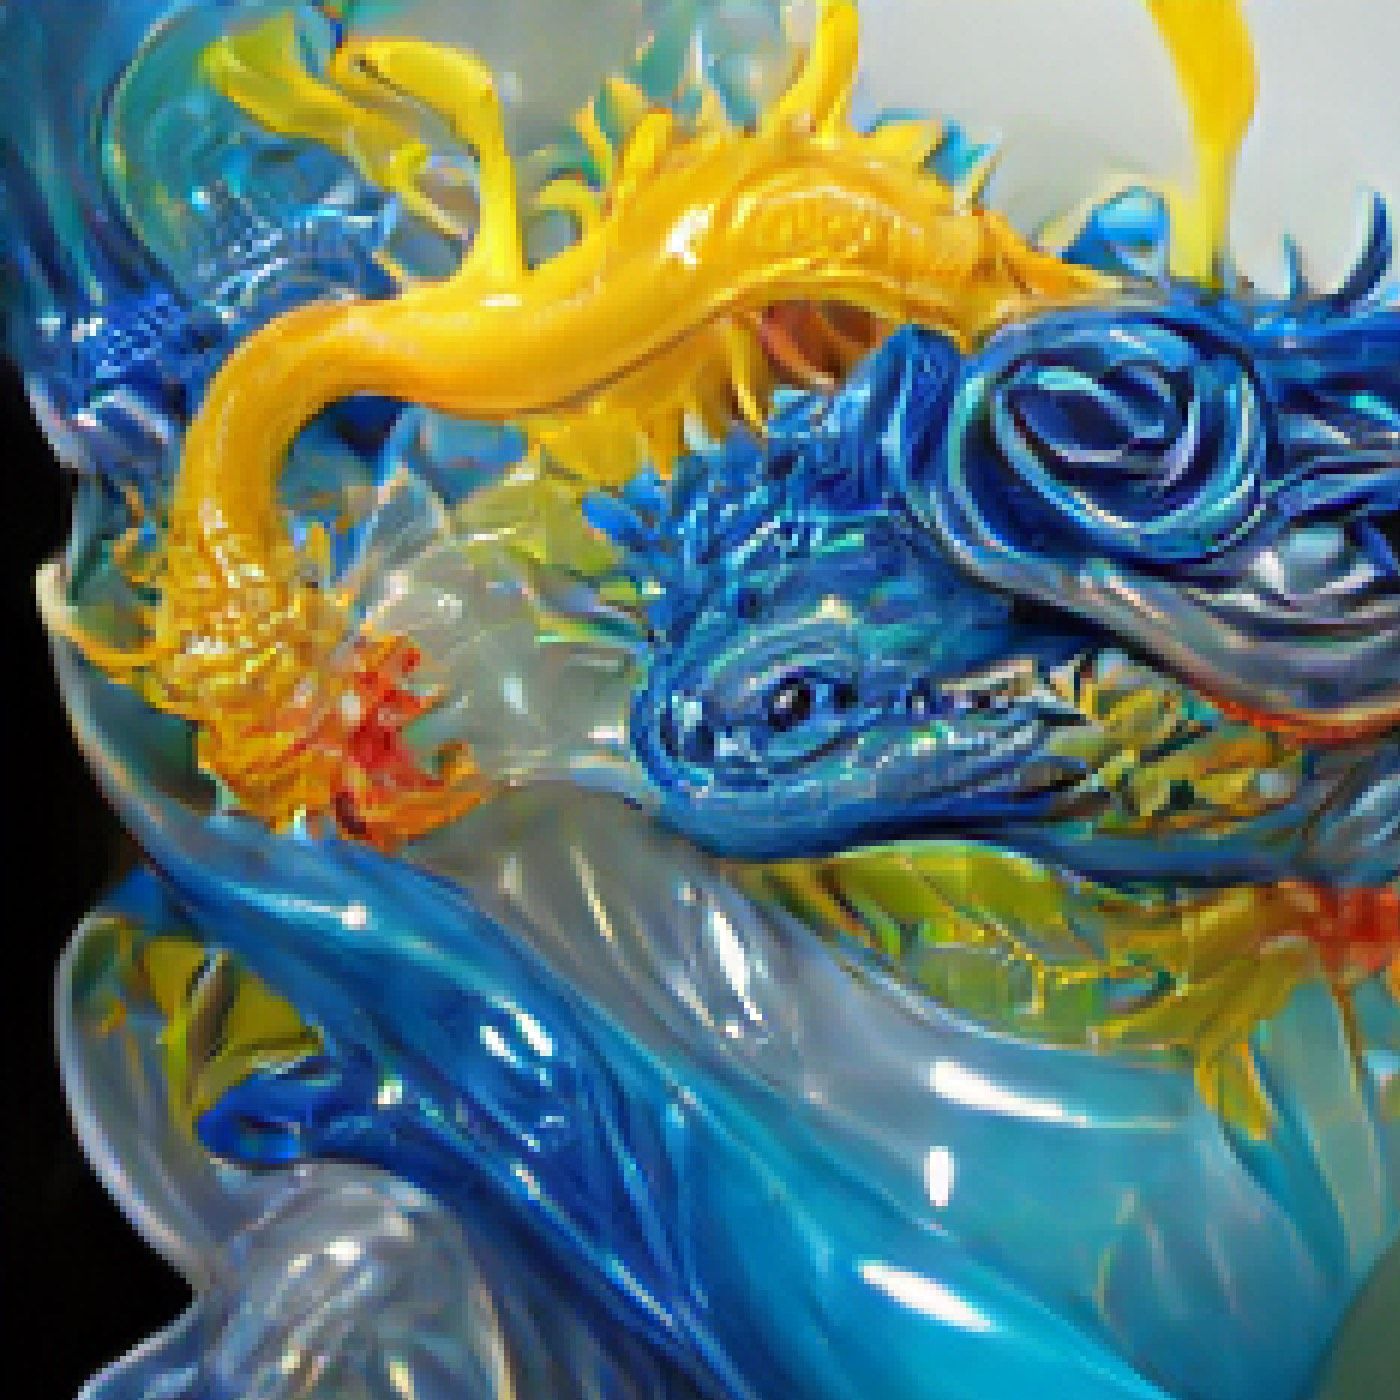
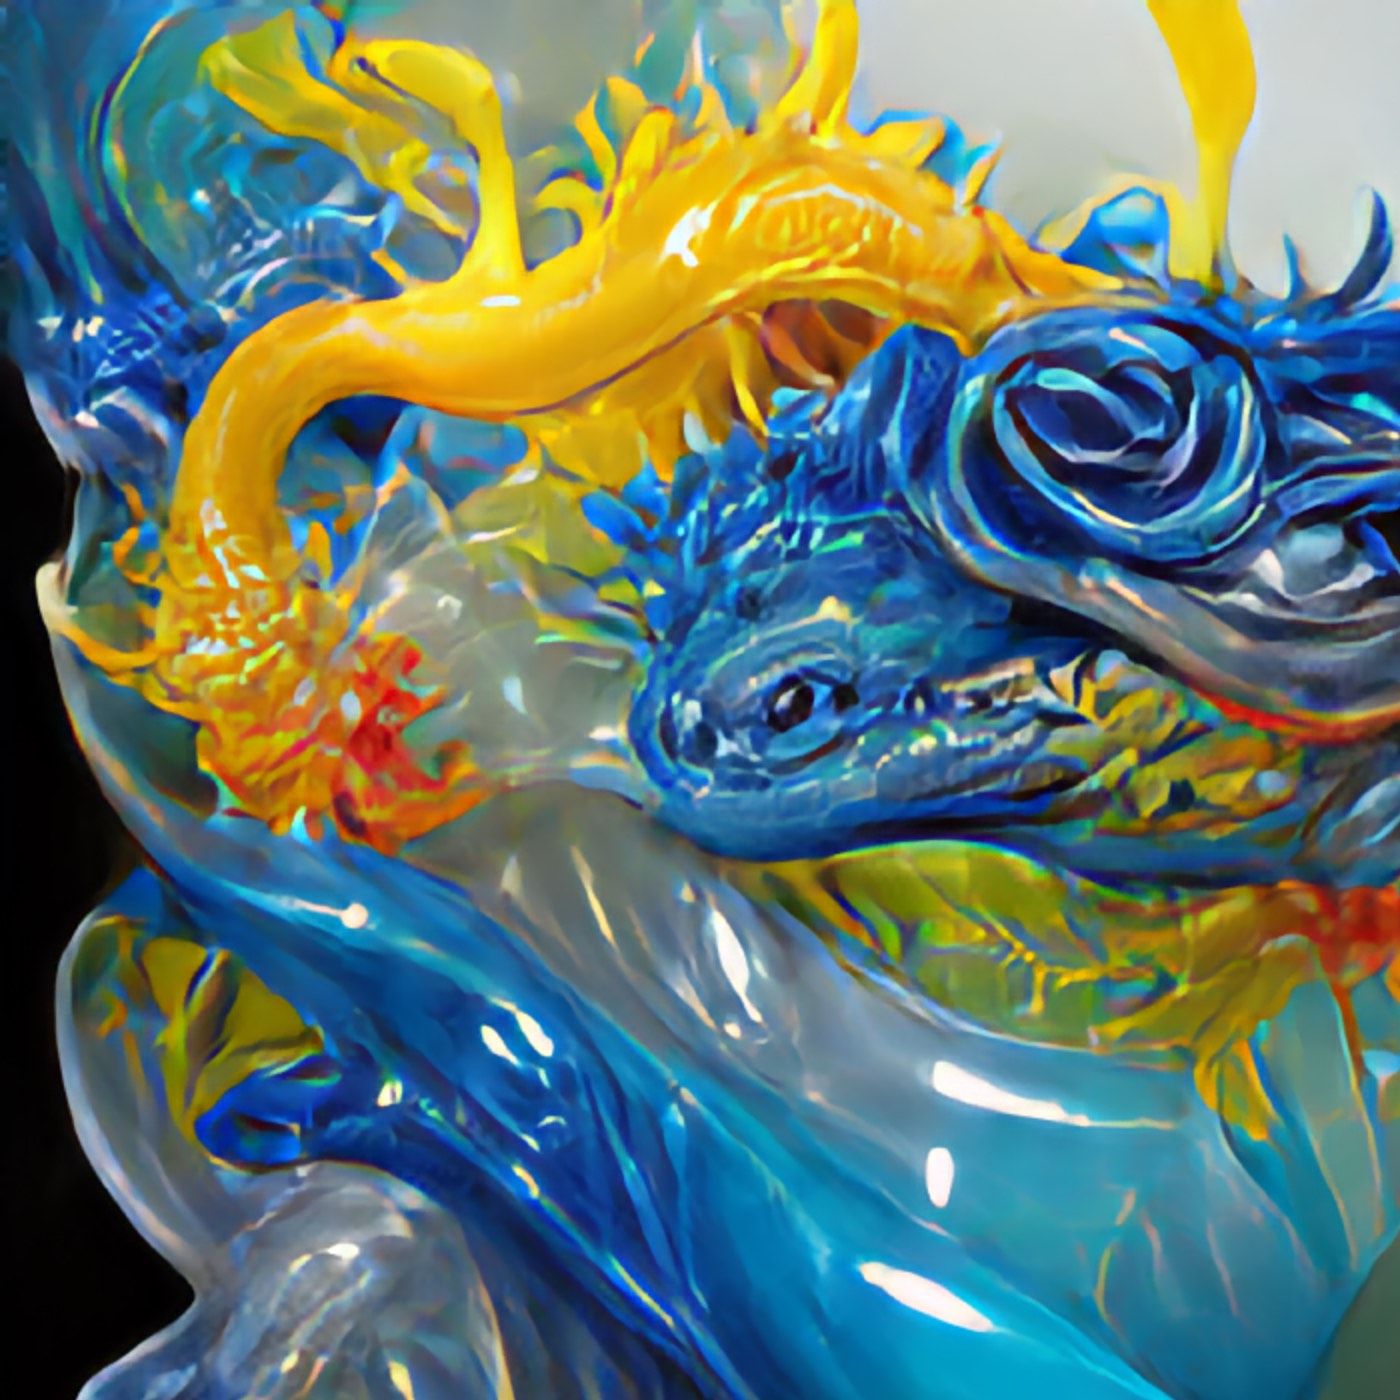
↑ Original image enlarged 6x vs. upscaled 6x with Topaz Gigapixel.
This is the best upscaler available at the moment and the one I use for my images. It's easy to use and the results are outstanding. They also have companion products for removing noise and blur and for upscaling video. Processing is local rather than in the cloud, so the speed is dependent on your machine. While it only takes few seconds per image on my M1 Air, it took nearly a four days to upscale a ten minute video to 8k.
Topaz Gigapixel AI is $99 bought individually but can also be purchased as part of a bundle with their other products.
Pixelmator Pro
↑ Original image enlarged 6x vs. upscaled 6x with Pixelmator Pro.
As well as being a good bitmap and vector editor, Pixelmator Pro also has a suite of AI-enhanced tools including background removal, colour matching, selecting and masking and, yes, image super-resolution. The results aren't as good as Topaz or SwinIR, but the ability to freely enlarge layers without worrying about losing image quality while working is enormously useful.
Pixelmator Pro costs $39.99 – a bargain for what it does.
Adobe Creative Suite
Adobe are only just beginning to add AI functionality in their products, but they have added super-resolution to the Camera Raw plugin so it's available in Photoshop and Lightroom. Handy if you've already got Creative Suite.
Web-based options
These are useful if you want to quickly upscale an image as there's nothing to download and no dependencies to install. However as they often charge on a per-image model they can get expensive if you want to upscale a lot of images.
- Let's Enhance – Free for 5 images, from $9/month for more (thanks to @dilkROMGlitches for the tip).
- Icons8 upscaler – Free trial, from $10 for 50 images.
- BigJPG – Free, paid plans available for larger upscales.
- Waifu2x – Free, designed for anime but also works with photos.
Let's Enhance and Icons8 Upscaler also provide an API for integrating with other applications – either your own application or a design tool like Figma or Sketch. Again not cheap, but could be very handy.
Further reading
For (much) more information and resources on upscaling check out upscale.wiki. They also have a wide range of models optimised for tasks like denoising, sharpening and colourisation as well as for different types of image, such as photos, line art, anime etc.
Thanks for reading! If you have any questions, comments or suggestions, I’d love to hear from you. Give me a shout on Twitter, or send an email.